
plum crumb pie (with cardamom)

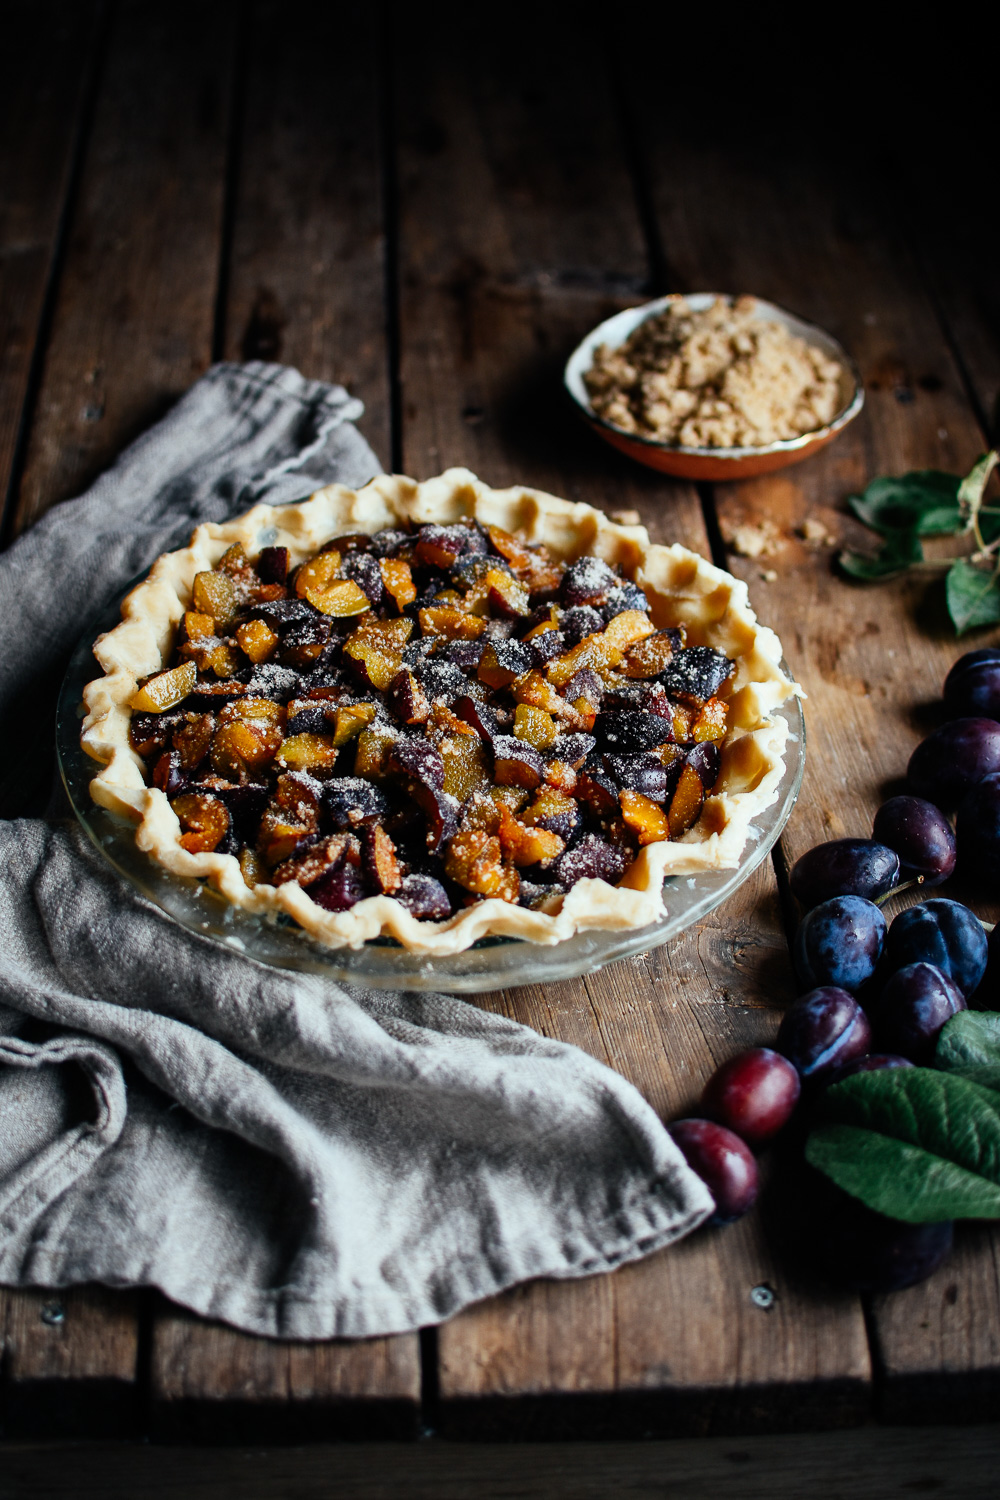


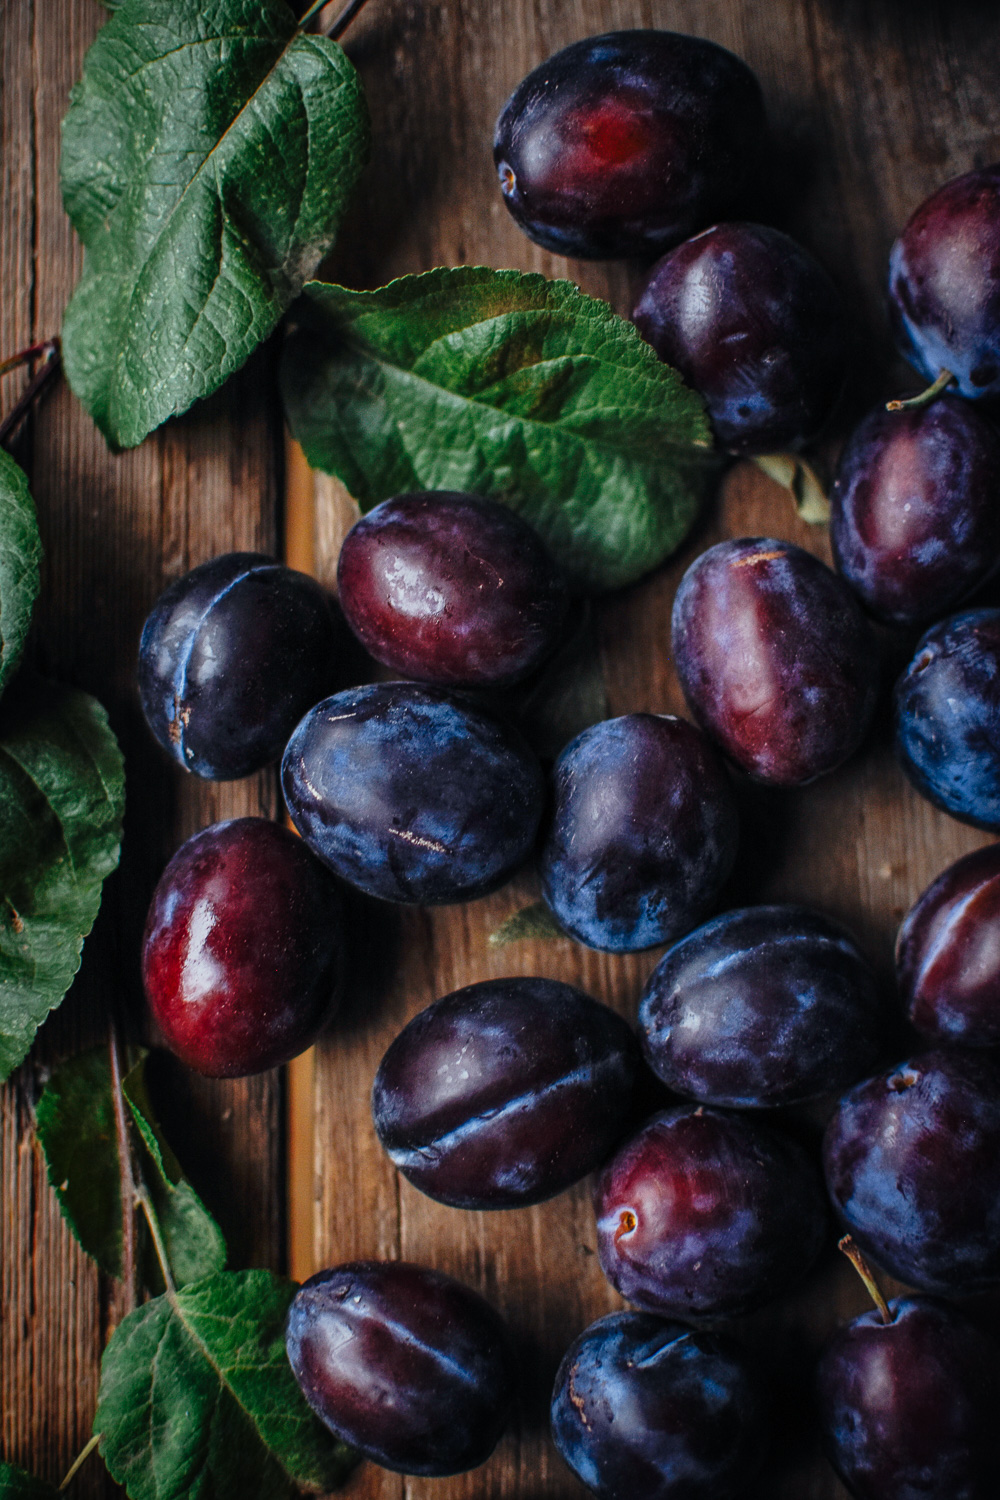


Let’s first acknowledge the fact that it is no longer italian plum season. I know this, okay? I made this pie a couple months ago, and it got lost in the chaotic-ness that is my life during the Fall harvest season on our farm. But guess what? If you have frozen plums (kudos to you for thinking ahead!), they work perfectly! And you could also swap in red plums, which I’ve been seeing all over the grocery store in the past couple of weeks. Yay! Pluots would work well with this recipe as well. So many options!
Also it has a crumb top, which I love since it’s so no-fuss. I’ll sometimes do a crumb top when I’m in a hurry, or if I don’t quite have enough pastry to finish a double crust pie! You can definitely play around with the amount of crumbs you want on your pie, as I know everyone has their own preference to fruit to crumb ratio. And on a similar note, I will say that baking this in a shallower pan works better than a deep one. For a lot of pies I find this true, and I’m not just saying that since I love a higher crust ratio. Ha! Deeper pies = more fruit = longer baking time…and that can sometimes lead to problems if you’re not super experienced with pie baking (burning your crust or not cooking the filling enough are common issues!).
I like using a shallower glass dish, but that is totally up to you! If you’re using a deeper pie dish, you may need to increase the amount of filling to get a nice full pie. Another benefit of a glass pan is that you can see what’s going on with your bottom crust. If you have trouble with soggy bottoms, it’s a great way to check on the crust to make sure it’s getting brown!
Also note that you can definitely make this into a double crust pie!
plum crumb pie
yields: one 9 inch pie
Pastry - yields one double crust pie
ingredients
2 cups all-purpose flour
1/2 teaspoon salt
1/2 teaspoon baking powder
2 tablespoons brown sugar
1 cup cold butter
2 teaspoons white vinegar
1/2 cup minus 2 teaspoons very cold water
directions
Start by getting your liquid ready and chilling. Place 2 teaspoons vinegar into a liquid measuring cup. Add enough cold water until the total volume equals 1/2 cup total. Place in the freezer and let chill while you mix together the remaining ingredients.
In a medium bowl, combine the flour, salt, baking powder, and brown sugar. Use a knife to chop cold butter into rough 1 inch cubes, and then add to the flour mixture. Use a pastry blender or fork to cut in the butter. You want the butter to be in pea-sized pieces. I like to work it with my hands once I’ve broken up the big chunks with a pastry blender, as you don't want the butter pieces to get too small.
Pour water mixture over the flour-butter mixture. Use a spatula to stir mixture until it starts to come together, and then turn out onto a lightly floured surface. The dough will look very shaggy and flour-y at this point, that's just right. Very gently work with your hands to bring the dough together a bit more. I scoop up the flour bits, place them on top of the dough, and then fold them in. The goal is to work the dough as little as possible. Overworking the dough causes more gluten development to form, and we don't want that to happen as it causes your crust to be tough!
Gently separate the dough into two equal balls, flatten slightly into round discs, cover with plastic wrap, and let them chill in the fridge for a minimum of an hour. (They will keep in the fridge for about a week, or in the freezer in an airtight container for a few months.)
Use one disc for this recipe, and save the other in the fridge or freezer for another time. Alternatively, use the 2nd disc to make this a double crust pie, and skip the crumb topping.
pie filling
6 cups fresh italian plums*, pitted & quartered
1/2 cup granulated sugar
1/4 cup tapioca
1/4 teaspoon ground cinnamon
1/4 teaspoon ground cardamom
1 tablespoon lemon juice
*may substitute red plums or pluots - most stone fruit will actually work well here
topping
3/4 cup granulated sugar
3/4 cup all-purpose flour
1/2 teaspoon ground cinnamon
5 tablespoons cup butter, cubed
Pie Assembly
Preheat the oven to 425 degrees F.
Let your pie dough rest on the counter for 10-15 minutes before rolling it out, as it will be too stiff directly out of the fridge. If you try to roll it out and it starts cracking, simply wait a bit more and try again. Roll out your pie crust in a circle with about a 12 inch diameter.and place into a pie dish. You want to have an inch or two hanging over the edge of your pie dish so that you can crimp it.
To crimp: Fold the outside edge once or twice by tucking it under itself, making sure it rests on the edge of the pie plate. Use one finger to press this thicker edge outwards, and use the index finger and thumb of the other hand to pinch around it. This will create a classic crimp, and just takes a little practice! Alternatively, simply use a fork to press around the entire edge of the pie. Let it rest in the fridge while you get the filling ready.
In a large bowl, use a wooden spoon or spatula to stir the together plums, sugar, tapioca, cinnamon, cardamom, and lemon juice. Pour into the prepared crust, and place it back into the fridge. We want to keep the dough as cold as possible, so it keeps its shape when baked and is nice and flaky.
In a medium bowl, mix together sugar, flour, and cinnamon. Cut in butter using a fork, pastry cutter, or simply your fingers until all the chunks are the size of a pea.
Sprinkle crumbs over top of pie filling. Place the pie into the freezer for 10 minutes, then bake at 425 degrees F for 15 minutes. Then reduce the oven temperature to 350 degrees F, and cook for another 40-50 minutes until bubbling well. Use tinfoil or a crust shield to protect crust if getting too dark. Allow to cool completely on a wire rack before serving, otherwise the filling will be too runny.
Best the first day, but will keep on the counter covered loosely with tinfoil/kitchen towel for several days.
Happy pie making!