hand-dipped animal crackers and a carnival cake

Oh hey there!
Guess who I saw again?! AMY!!! Seriously, if we lived a bit closer together I'm pretty sure we'd be baking together every single week. (In case you missed it....here is the epic cake we created last time we were together!)
So I drove out to Van a couple weekends ago, bringing homemade corn chowder, fresh biscuits, butter, hand-dipped animal crackers, caramel popcorn, and a whole lot of food props. Ha!
Amy and I had decided on a carnival themed spread, and while we started the night out strong....it ended in a bit of chaos. Underbaked cake, running out of eggs, a failed attempt at white chocolate drips, giggle fits (while trying not to cry), and an unfortunate use of a cone on top of the cake as a decoration. Oh man! We ended up baking more cake, scraping off our "candle wax" drips, and decided caramel corn was more suitable for a cake topping. It was a bit stressful! But hilarious now that we think back on it.
Honestly, I think it was the thought of getting delicious doughnuts the next morning at Lucky's that kept us both going. We both agreed that we've learned our lesson, and will stick to more "rustic" styles from now on! Ha!
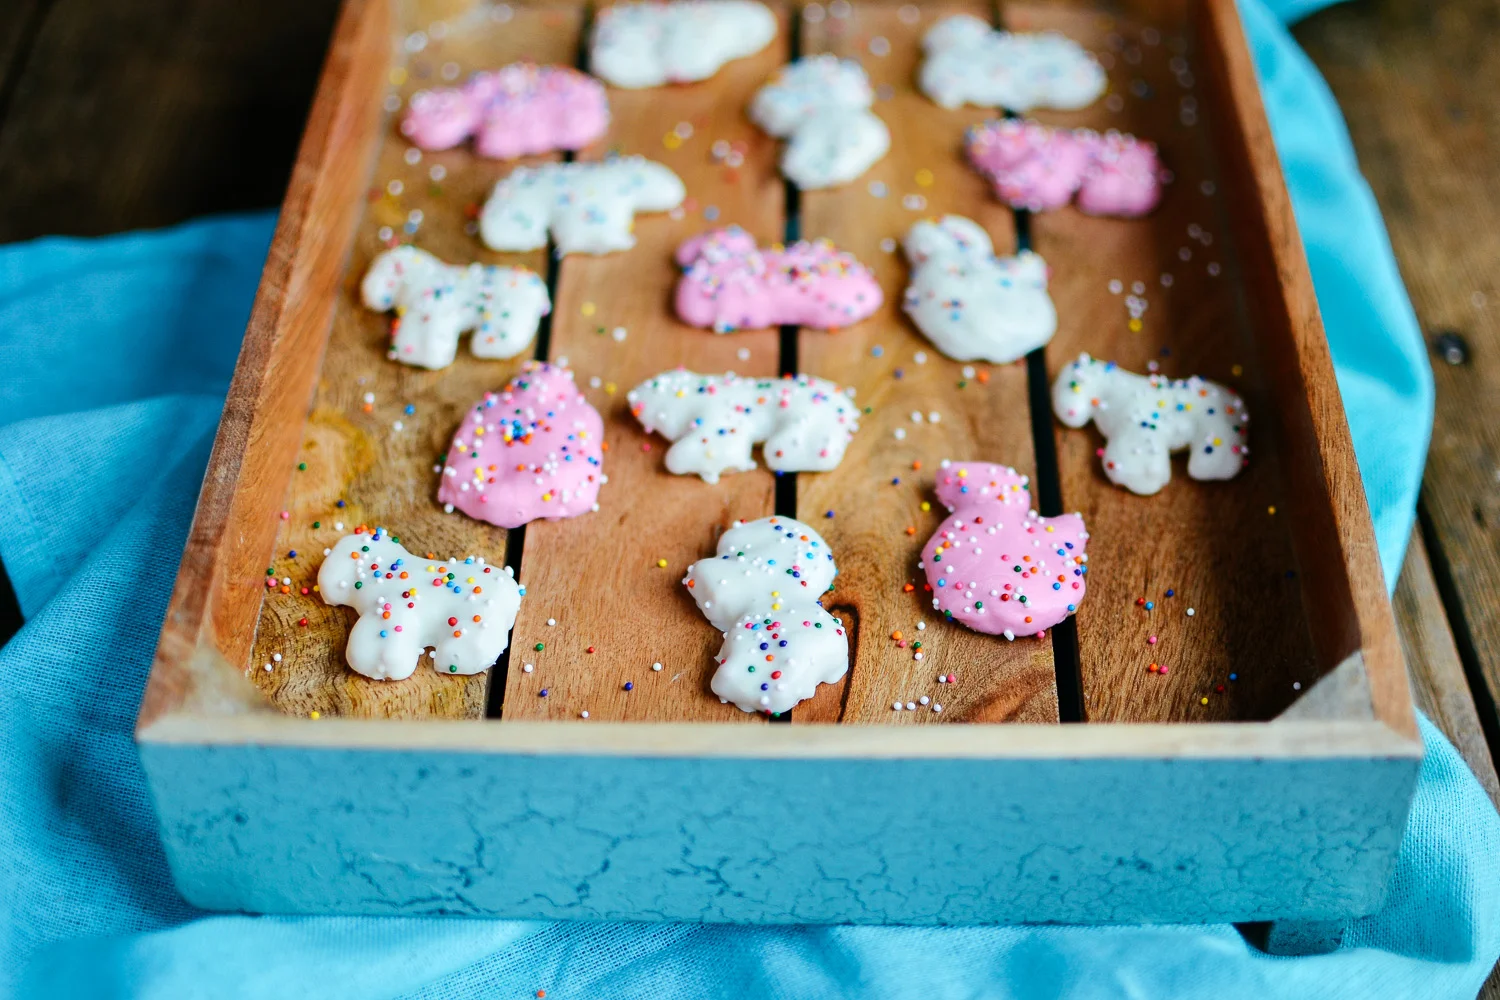
So, I was in charge of the animal cracker situation....and this is what I came up with! I had no idea where to find dipped animal crackers, except at Menchie's as a topping for your fro-yo. Ha! I thought...why not just make them? I would have liked to bake my own animal crackers as well, but the small animal cookie cutters that I found online wouldn't ship to me in time.
I ended up buying normal animal crackers and just dipping them in white melting wafers. I used gel food colouring to dye some of the wafers pink, and was super happy with the results!
Also, this isn't really a recipe, more of just sharing what I did, and what technique I found gave the best results!
Hand-dipped Animal Crackers
Directions:
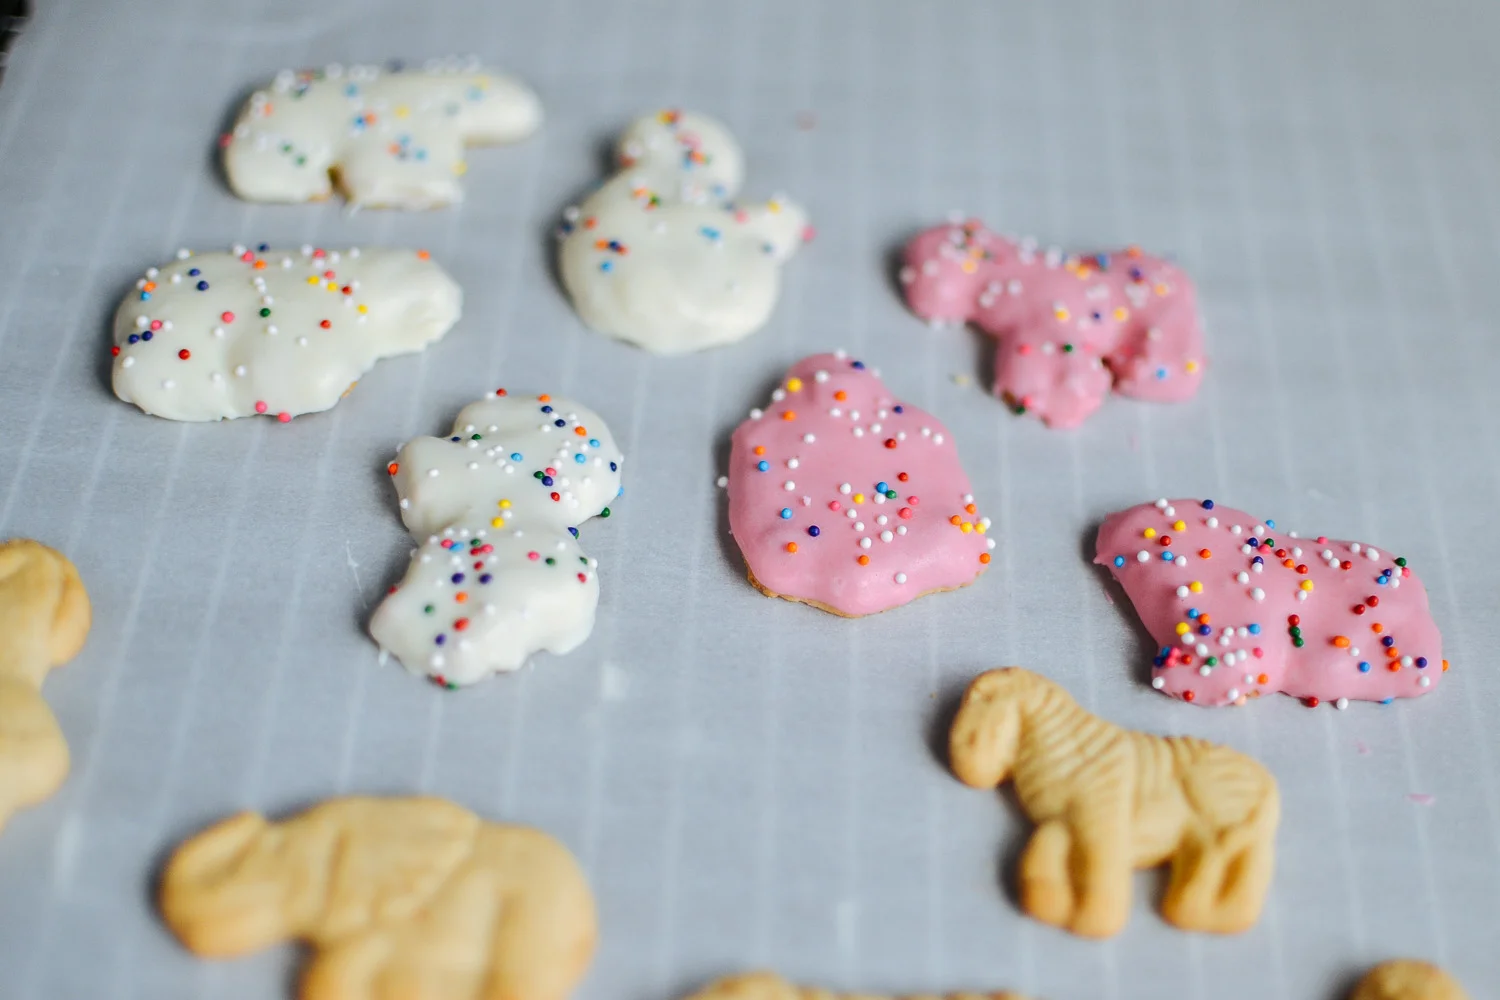
I first sorted through all of the animal crackers, removing (ahem...eating) all of the broken ones, and then kept the best ones for dipping. A few of the animals looked super odd and just like blobs once dipped (I'm looking at you Mr. Crocodile!), so I sorted a few animals out as well. I found that anything with distinct legs or shapes (like the bears, zebras, and camels) worked the best!
Lay out parchment paper, set out the sprinkles, and melt down white melting wafers. *If you're colouring the wafers, now is the time. I used my normal gel food colouring and had no problems!
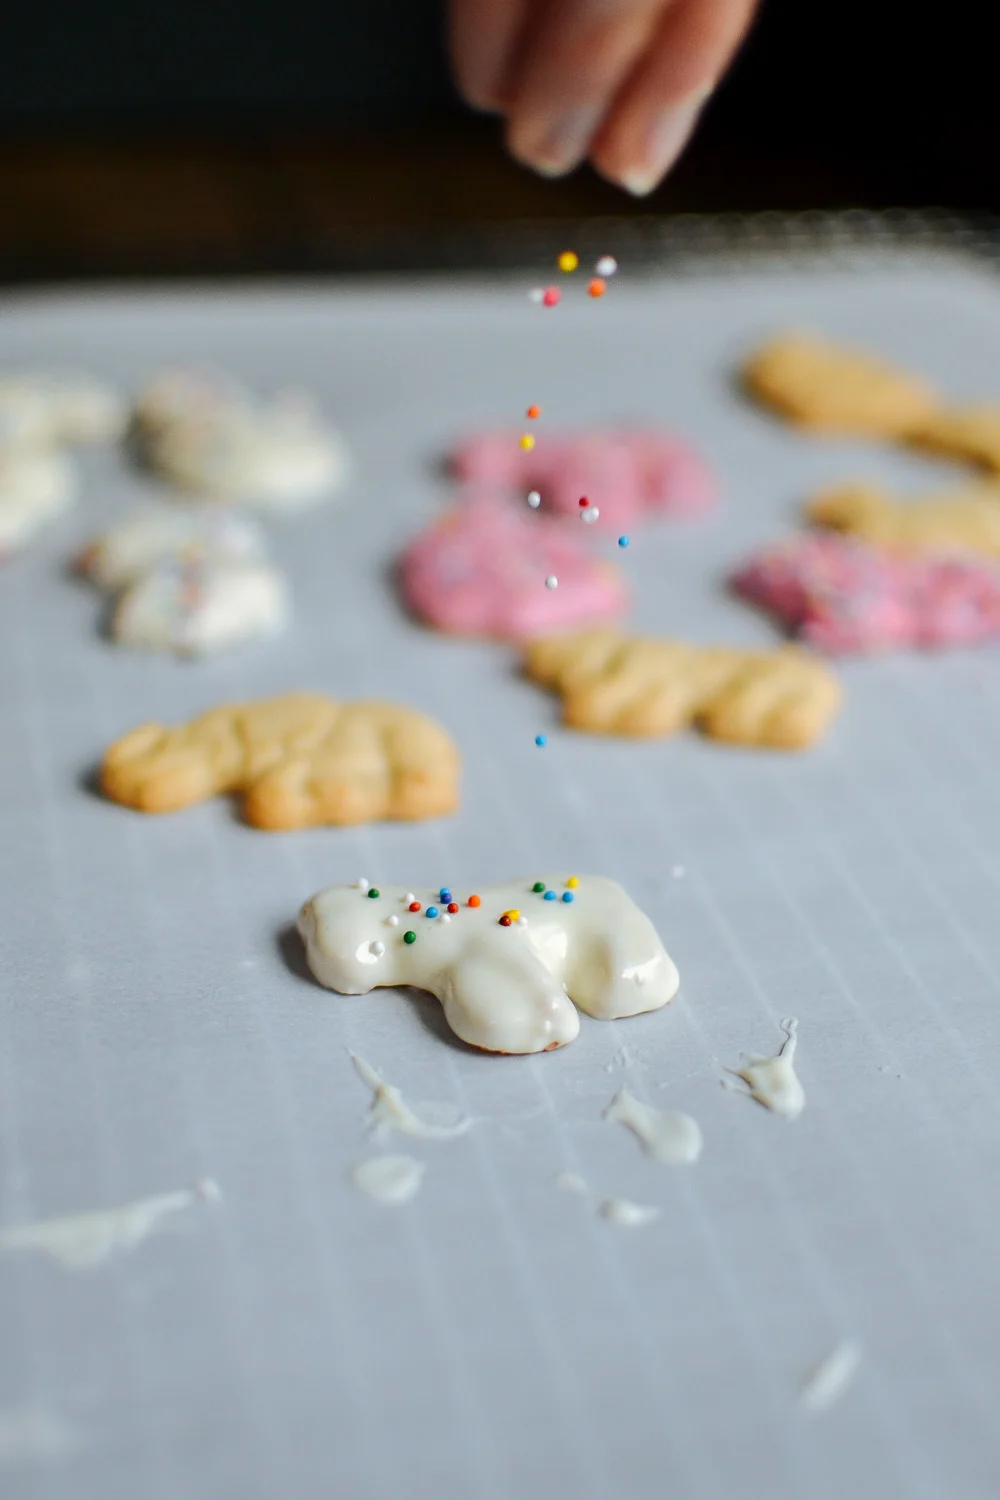
Grab an animal cracker, and gently place it face down into the melting wafers, and press down until the sides are all covered, but leave the back undipped (this is personal preference, but it made way less mess and the animal shapes were more defined.
Gently pick it back up, and shake of the excess chocolate. Place onto the parchment, and cover with sprinkles. Before the chocolate sets, carefully use a toothpick to move the cracker a few inches away. This will help the legs become more defined, and keep any weird pools or drips from forming. (This will become more evident once you try it!)
Repeat those steps for as many crackers as you'd like! You may need to re-melt the wafers as needed. Let the crackers completely set, and then store in an air-tight container until ready to eat.


Now here are a few sneak peeks of what the final spread looked like! And pop over to Amy's blog, Constellation Inspiration, to get the funfetti cake recipe, and see even more photos! I can't wait for our next baking date!


#bakewith amy #andkelsey
And HUGE thanks again to Victor for putting up with our nonsense, and completing our squad. All photos of the final spread are by him!
-Kelsey