lemon curd vanilla layer cake

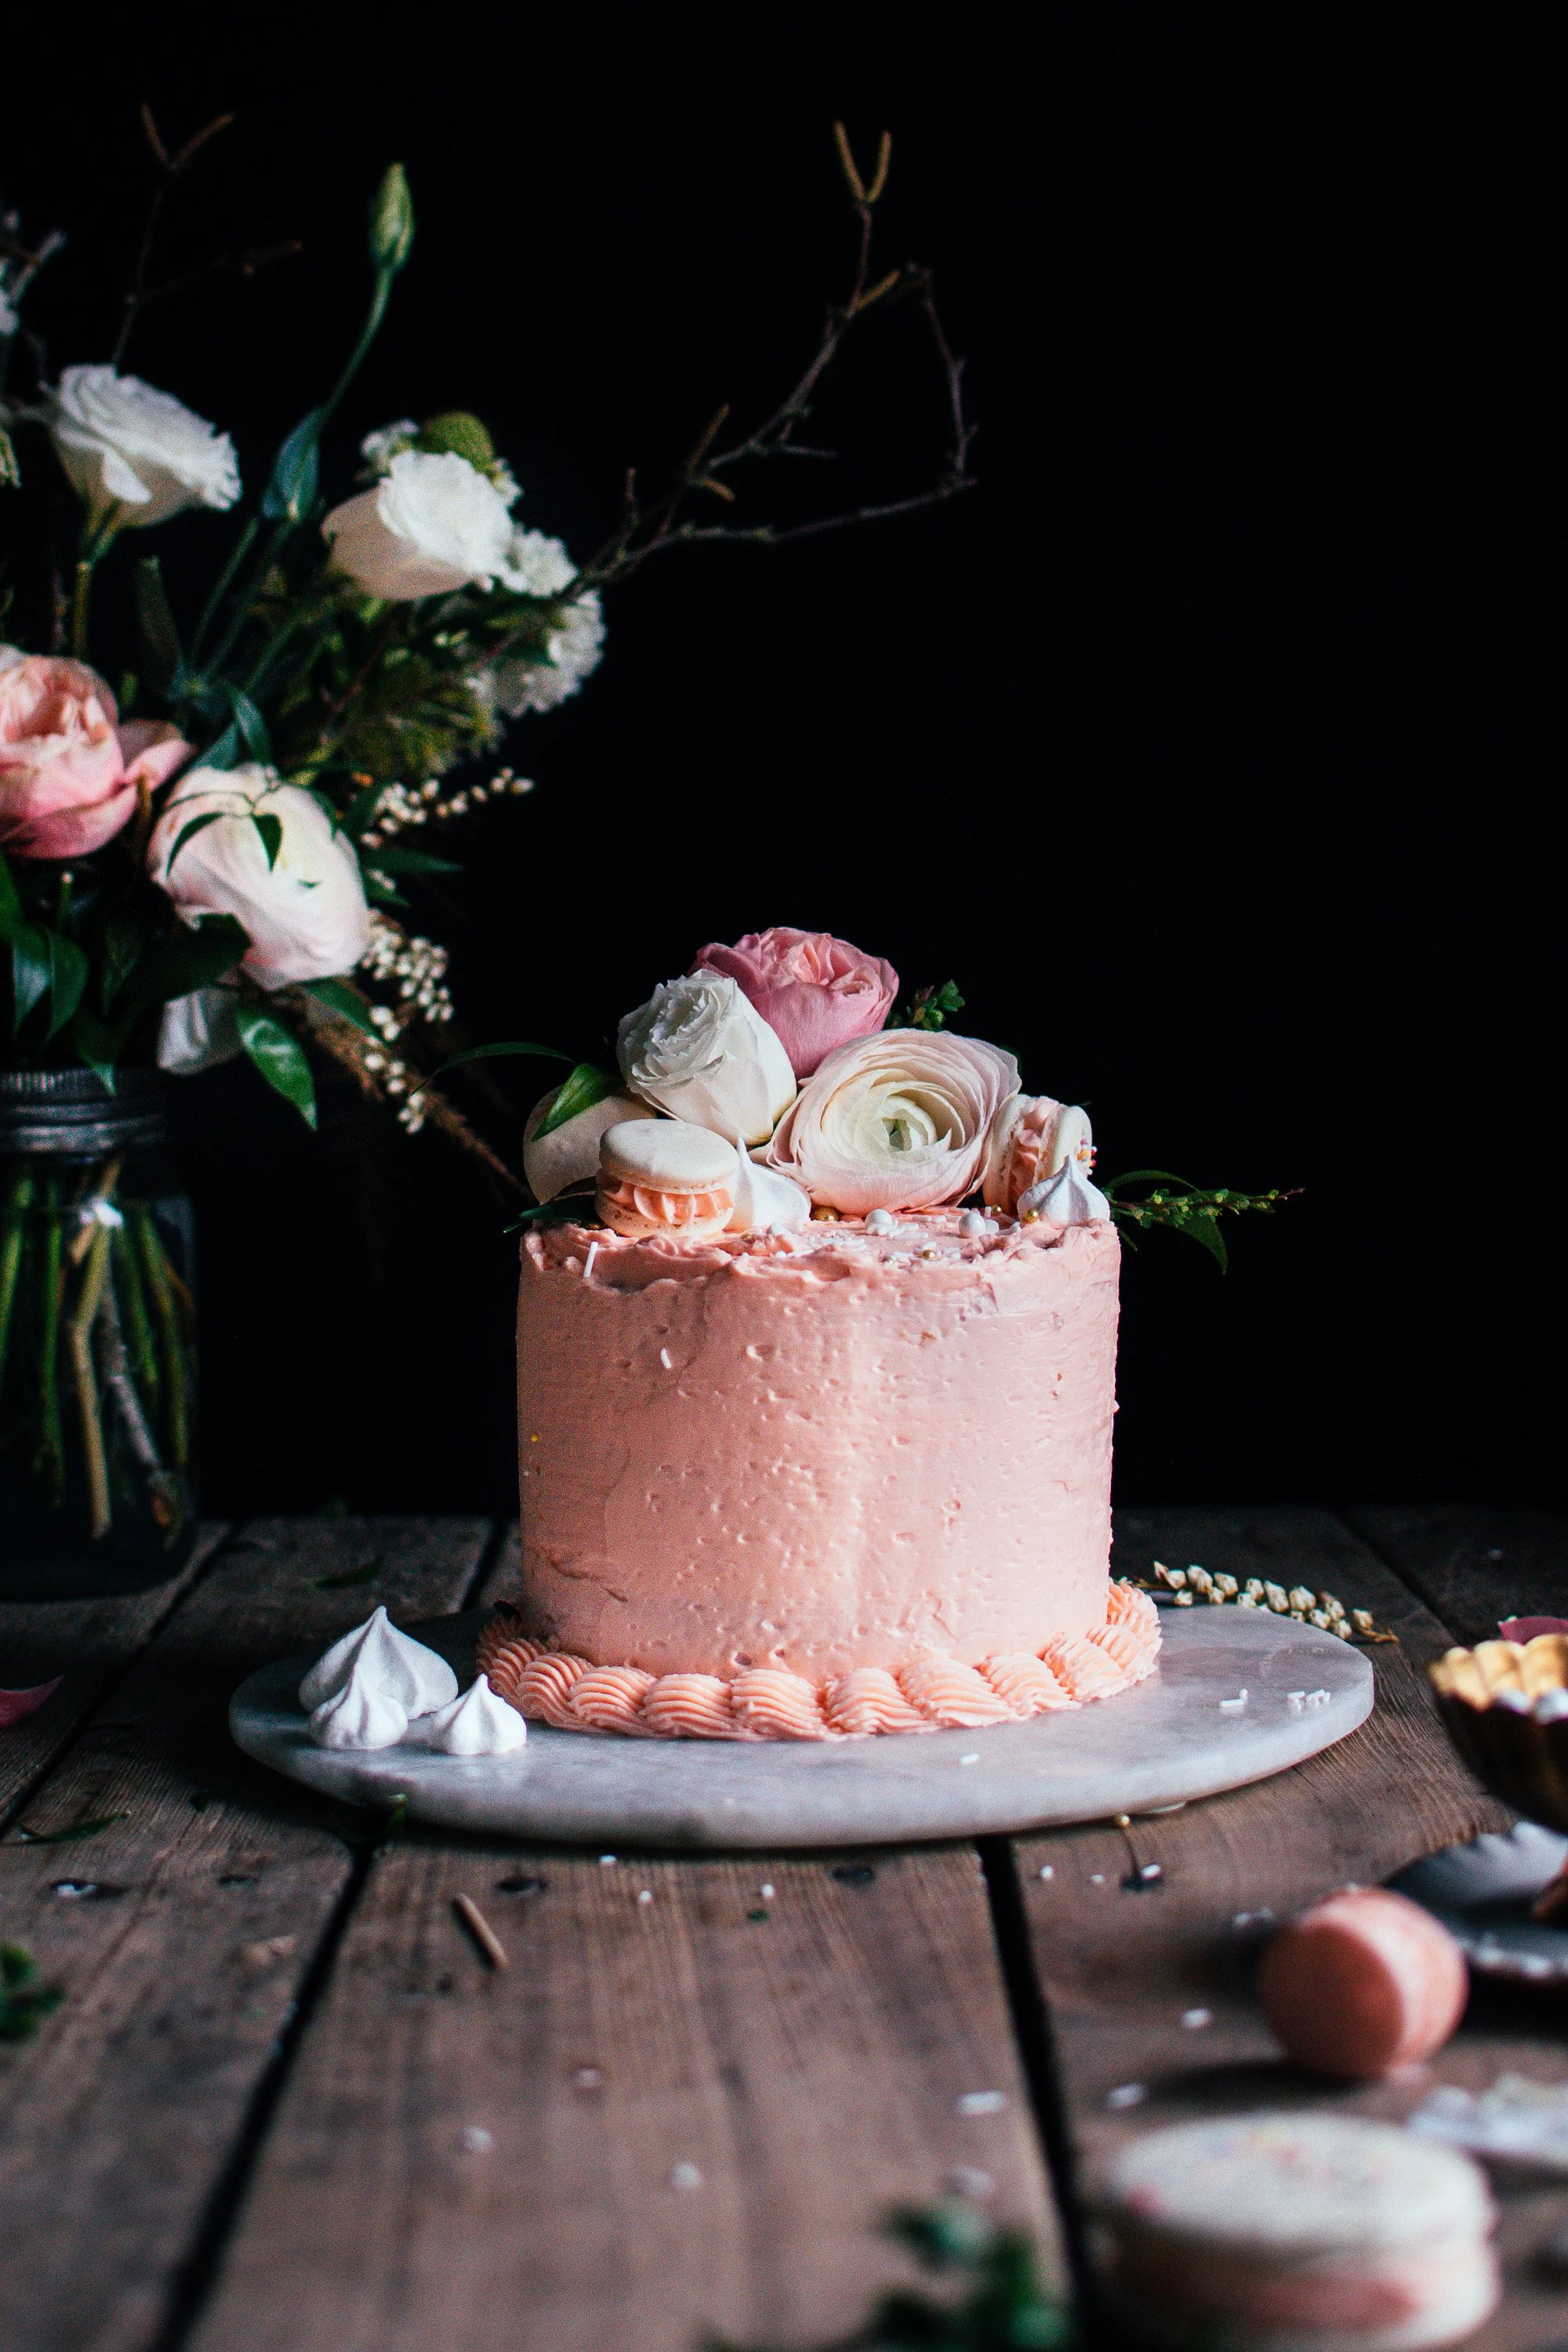

Another day…another layer cake. These 6-inch layer cakes have become my specialty, as I love the smaller size diameter and still having the drama that 3 layers yields. This cake is a soft vanilla white cake that is layered with a barrier of vanilla butter cream and lemon curd. I love how the lemon curd cuts the sweetness, and adds a huge punch of flavour. It would have been fun to add a few blood oranges to the curd to get a pink colour too!
You can have fun with the piping, add some blooms, sprinkles, mini meringues, or a few macarons. Or all of the above like I did! I like to keep a few macaron shells and mini meringues in my freezer so I can pull out a few to decorate a cake or tart, instead of having to make a whole batch!

yields: one 6-inch, 3-layer cake
ingredients
¾ cup (180 mL) egg whites (about 6 eggs)
2 tsp vanilla extract
¾ cup (180 mL) milk, divided
¼ cup (58 g) plain, full fat greek yogurt (regular plain yogurt)
2 tablespoons lemon zest (about 2 lemons)
1 ½ (300 g) granulated sugar
1 cup (240 mL) canola oil
2 cups (250 grams) cake flour
1 cup (125 g) all purpose flour
1 tablespoon baking powder
1/2 tsp salt
to make the cake
Preheat the oven to 350 degrees F. Grease three 6-inch round cake pans (with straight, 2-inch tall sides) and set aside.
In a small bowl, whisk the egg whites, vanilla extract, 1/4 cup milk and greek yogurt together, and set aside.
In the bowl of a stand mixer fitted with a paddle attachment, mix the flour, sugar, lemon zest, baking powder and salt together on low until combined. Add in the oil and 1/2 cup of milk, and mix on low until just moistened. Scrape down the sides and bottom of the bowl with a spatula, and then turn the mixer to medium-high and mix until completely combined.
With your mixer on medium-low, slowly stream in the egg white and milk mixture. Add it in 3 batches, where each addition should take about 15 seconds to stream in. Ensure each batch is completely incorporated before adding the next. Stop the mixer before the last addition is completely incorporated, and finish mixing by hand, using a spatula to fold together, scraping down the sides and bottom of the bowl as you go. Try not to overmix at this point!
Distribute the batter between the prepared pans. I like to use a kitchen scale to make sure an even amount is in each one, but you can just eyeball it.
Bake at 350 degrees F for 25-30 minutes or until a toothpick inserted into the center of the cake comes out clean. I like to carefully rotated my pans a couple times while cooking to ensure even heating.
Allow cakes to cool for at least 5-10 minutes before removing from pans and cool completely on a cooling rack. Use a large serrated knife to level the tops of each one before assembling the layer cake.
Cool cakes completely before frosting. I like to make the cake the day (or even week) before, store them in an airtight container, and keep them in the fridge or freezer to keep fresh. Chilled cake layers are easier to handle, and means less crumbs in your icing. If storing cake in your freezer, remove and place in your fridge 3-4 hours before assembly, or overnight, to let it thaw before frosting.
To assemble the cake:
Once cakes are cool and level, place the first layer upside down onto your cake plate (this reduces the amount of crumbs as the cut part is face down). Spread frosting in an even layer, but come up slightly along the edge of the cake layer to create a small barrier for the curd. I use about two scoops of frosting from a 2.5-inch ice cream scoop between each cake layer so that I know my frosting layers will be even. Next, spread a layer of lemon curd on top of frosting. Again, I’ll use 1 or 1.5 scoops using the ice cream scoop. Repeat for the next layer.
When the final cake layer is placed on top (remember to place it upside down to reduce crumbs), spread a very thin layer of butter cream over the entire cake as your crumb coat. Now is a good time to check how straight your cake is standing, and gently adjust the layers if possible so that it’s standing straight. I like to place my cake scraper along one side and push from the other side to get it perfectly level.
Move the cake into the fridge or freezer for 10-15 minutes to firm up. (Don’t let it get too cold though or the frosting may harden too much when it hits the cold cake).
Finally, frost the cake. scoop more frosting onto the chilled crumb layer, and use a butter knife or cake scraper (also called icing smoother) to smooth out the frosting. Or you can keep it more rustic and swirly, and have a thicker layer of frosting.
Decorate to your hearts desire! I used a star tip to pipe a border along the bottom of my cake. Added a few different types of sprinkles, as well as some meringues, macarons, and flowers. Whenever adding flowers, I lay down some plastic wrap, and wrap the stems with a bit of floral tape or more plastic wrap. Touch up with frosting to hide any bits that stick out. Remove before eating.
Vanilla Butter Cream FROSTING
ingredients
1 cup butter, room temperature
1 tablespoon vanilla extract
1-3 tablespoons cream (milk works fine too)
2 1/3 cups powdered sugar
red and yellow food colouring (optional)
directions
In a large mixing bowl, beat room temperature butter with vanilla and 1 tablespoon of cream on low speed until incorporated. Continue mixing on low while gradually adding in powdered sugar. Scrape down sides of the bowl, and add another tablespoon of cream if needed. Add food colouring until desired colour has been achieved. Mix on medium-low until completely smooth.
*mixing on low helps keep air bubble formation to a minimum. If your frosting seems to be full of bubbles, simply mix on low for a couple minutes, or run a spatula through the frosting several times to press air out.
LEMON CURD
ingredients
½ cup (120 mL) fresh lemon juice - about 3 to 4 lemons
1 tablespoon lemon zest (about 1 lemon)
2/3 cup (133 g) granulated sugar, dependent on tartness level desired
4 large egg yolks
½ cup (113g) salted butter, cubed
to make the lemon curd
Place a fine mesh sieve over a heatproof bowl, and set aside.
In a medium, nonreactive saucepan (stainless steel or enamel work well), combine all ingredients and heat on medium low. Whisk continuously to keep eggs from cooking separately. Cook the mixture until it starts to thicken, and the whisk starts leaving trails, about 10 minutes.
The curd should be done when the first bubble appears on the surface, and has reached 170 degrees F. If it has not thickened after 10 minutes, simply turn the heat up slightly, and keep cooking. Remove from heat and strain through the prepared fine mesh sieve to remove any stray egg whites if necessary, and to remove the lemon zest for a perfectly smooth curd. Allow to cool to room temperature before transferring to an airtight container in the fridge. Place a layer of plastic wrap on top of the curd to keep a film from forming if desired. Keep refrigerated until ready to serve. Curd will keep up to one week in the fridge.
Note:
Using a reactive saucepan such as aluminum or unlined copper can cause the acid from the lemons to discolour and have an unappetizing metallic taste, so be sure to use a non-reactive saucepan and utensils. Stainless steel or enameled cookware are good choices.
Variations: Use grapefruit or lime in place of the lemon for different flavours of curd.


Happy cake baking!
-Kelsey