
homemade elephant ears! (& happy canada day!!)

I knew that I wanted to create a recipe for Canada Day, and I really wanted to come up with something that was uniquely Canadian (kind of like these Nanaimo Bars!).....and I also apparently really love frying dough. So, Beaver Tails Elephant Ears won!
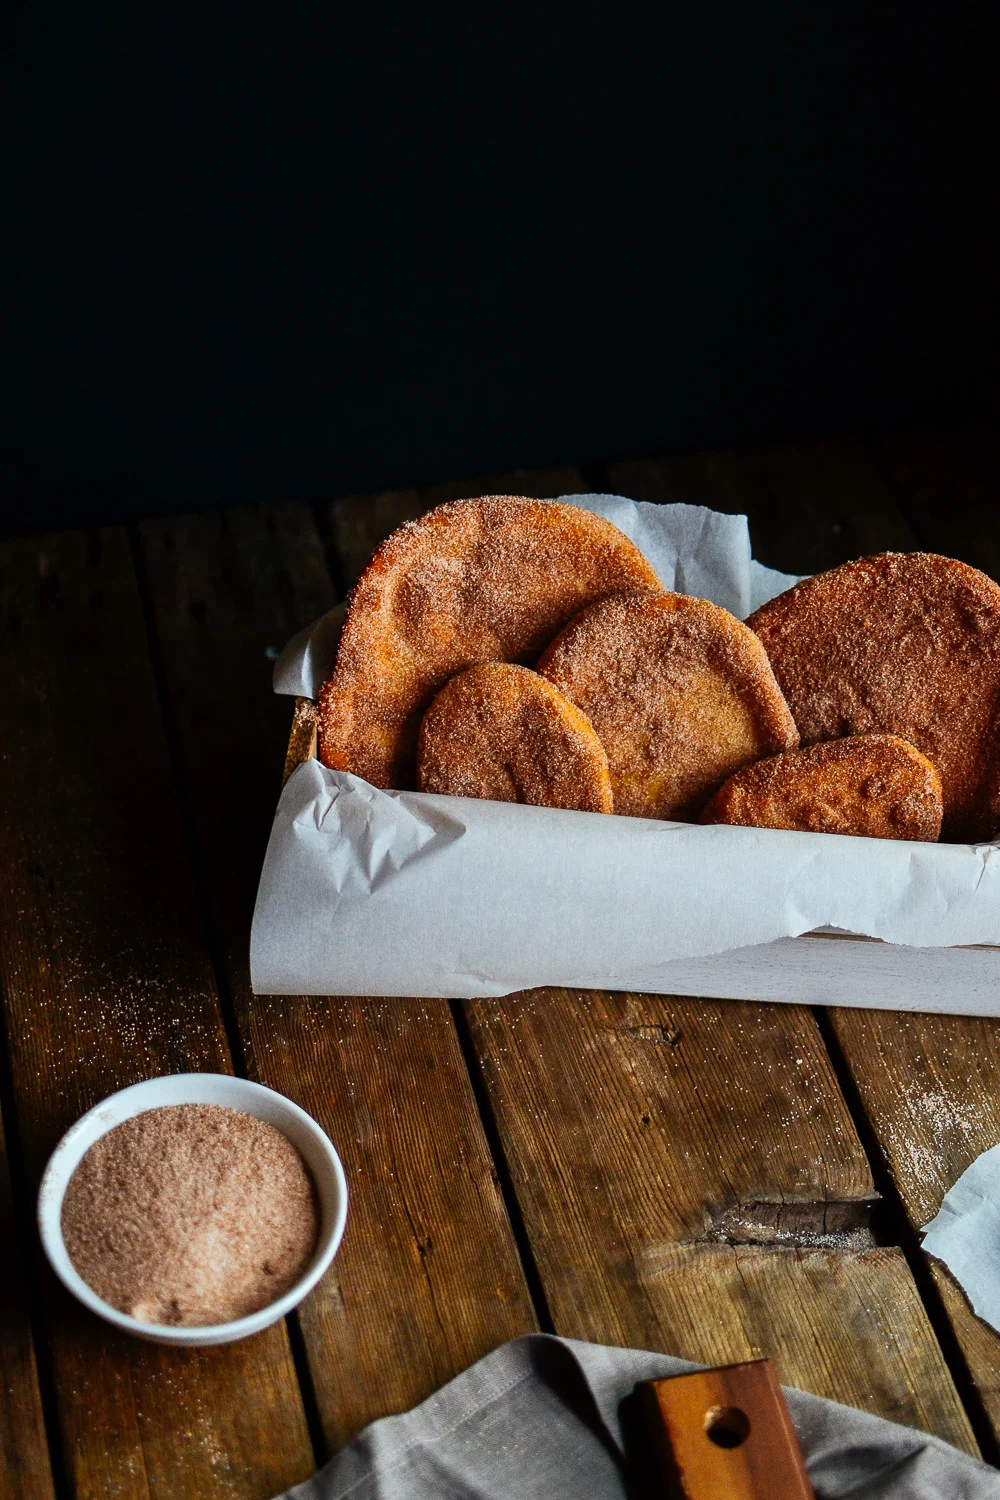
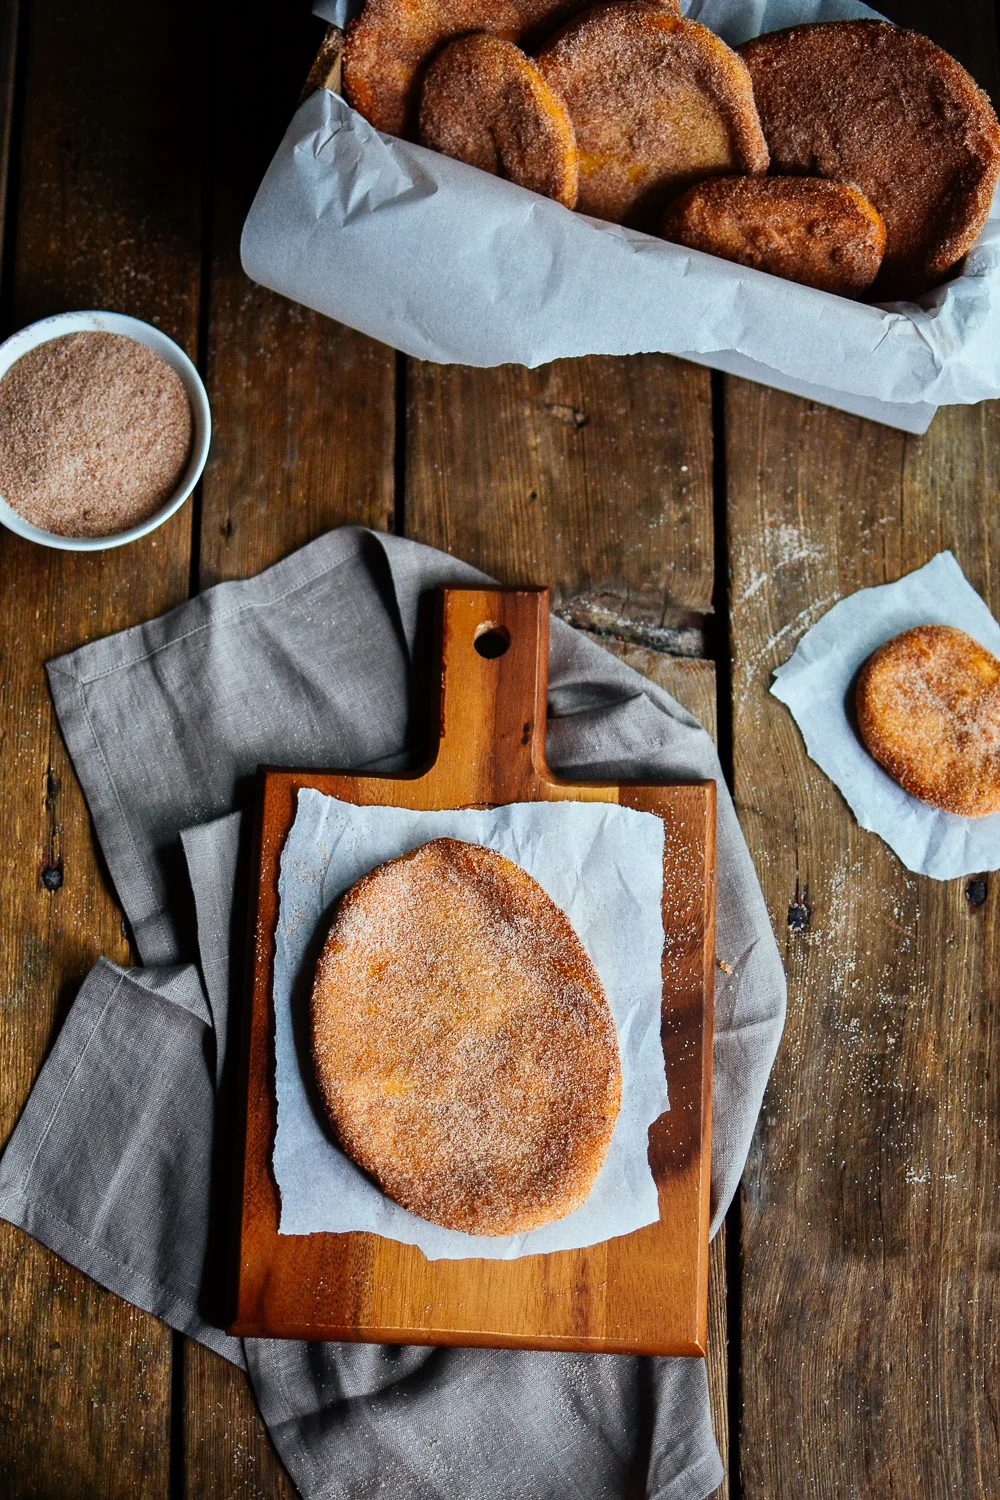
For those of you who are still confused, Elephant Ears are kind of like a giant stretched out doughnut that's in the shape of a elephant ear! There's a company here in Canada that sells the most amazing ones topped with anything you want, and they'd like me to remind you that this is NOT an official recipe for Beaver Tails, but rather my own version of Elephant Ears.

Now, you might look at the recipe and go: "Ugh...it's a yeast bread. Ain't nobody got time for that.". BUT I'm telling you that this recipe is super quick! You only let it rise ONCE, and only for HALF AN HOUR. That's it! Let's be honest, that's barely enough time for you to get your cinnamon and sugar ready, and your oil heated up. So go on....make these!
Elephant Ears
recipe by: Kelsey Siemens
yields: approximately 1 dozen elephant ears (*this depends very much on the size you choose)
Ingredients
1/4 cup hot water (not boiling)
1/2 tsp sugar
2 1/4 tsp yeast
2/3 cup milk
1/4 cup white sugar
1/2 tsp salt
1 egg
3 Tbsp shortening
3 cups flour
Directions
1) In a small bowl, mix together hot water, sugar, and yeast set aside for about 10 minutes until nice and frothy.
2) In a large bowl, whisk together yeast mixture, milk, sugar, salt, egg and shortening.
3) Slowly whisk in 1 cup of flour.
4) Gradually add in remaining flour (2 cups), half a cup at a time, stirring with a wooden spoon (or you can use your mixer and a dough hook) until the dough pulls away from the sides of the bowl. *You may not need to use all of your flour!
5) Knead by hand for about 5 minutes, or until your dough is nice and smooth. (You may need to add a bit of flour as you need if your dough is super sticky...that's totally normal!)
6) Place the dough into a greased bowl, cover with a clean dish towel, and place somewhere warm to rise until it has doubled in size (about half an hour).
7) While your dough is rising, get your toppings ready! I melted a couple tablespoons of butter for coating the elephant ears; and also made up some cinnamon and sugar and placed it into a large, shallow pan for dipping.
8) Heat oil in a deep-fryer or a large electric skillet to 350 degrees (you can use a large, deep skillet on your stove, but it's harder to control the temperature of your oil safely).
9) When your oil is ready, pinch off an egg sized piece of dough, and use a lightly floured rolling pin to roll it out into a large oval. It should be about 1/8" thick, and you can stretch it by hand if that's easier for you (that's the authentic way to do it!).
10) Gently place your elephant ears into the oil, and cook it until it is golden brown. Flip, and repeat.
*We noticed that if we rolled more out right away, they got quite a few bubbles in them, which made frying a bit interesting. So that's why I recommend doing them one at a time. They'll all taste the same though!
11) As soon as you remove your elephant ear from the oil, gently blot onto a paper towel, brush lightly with butter, and then cover with cinnamon and sugar.
(*You can skip the butter in this step if you'd like....as long as you cover it in cinnamon and sugar while it's still super hot. We like the slightly salty taste the butter adds!)
12) Repeat steps 10 & 11 until all your dough is used up.
13) Devour all of your elephant ears! (You can store any extras for a day or two, but they are best the first day!)


Happy Canada Day!
Now go out and eat all the things!
-Kelsey