
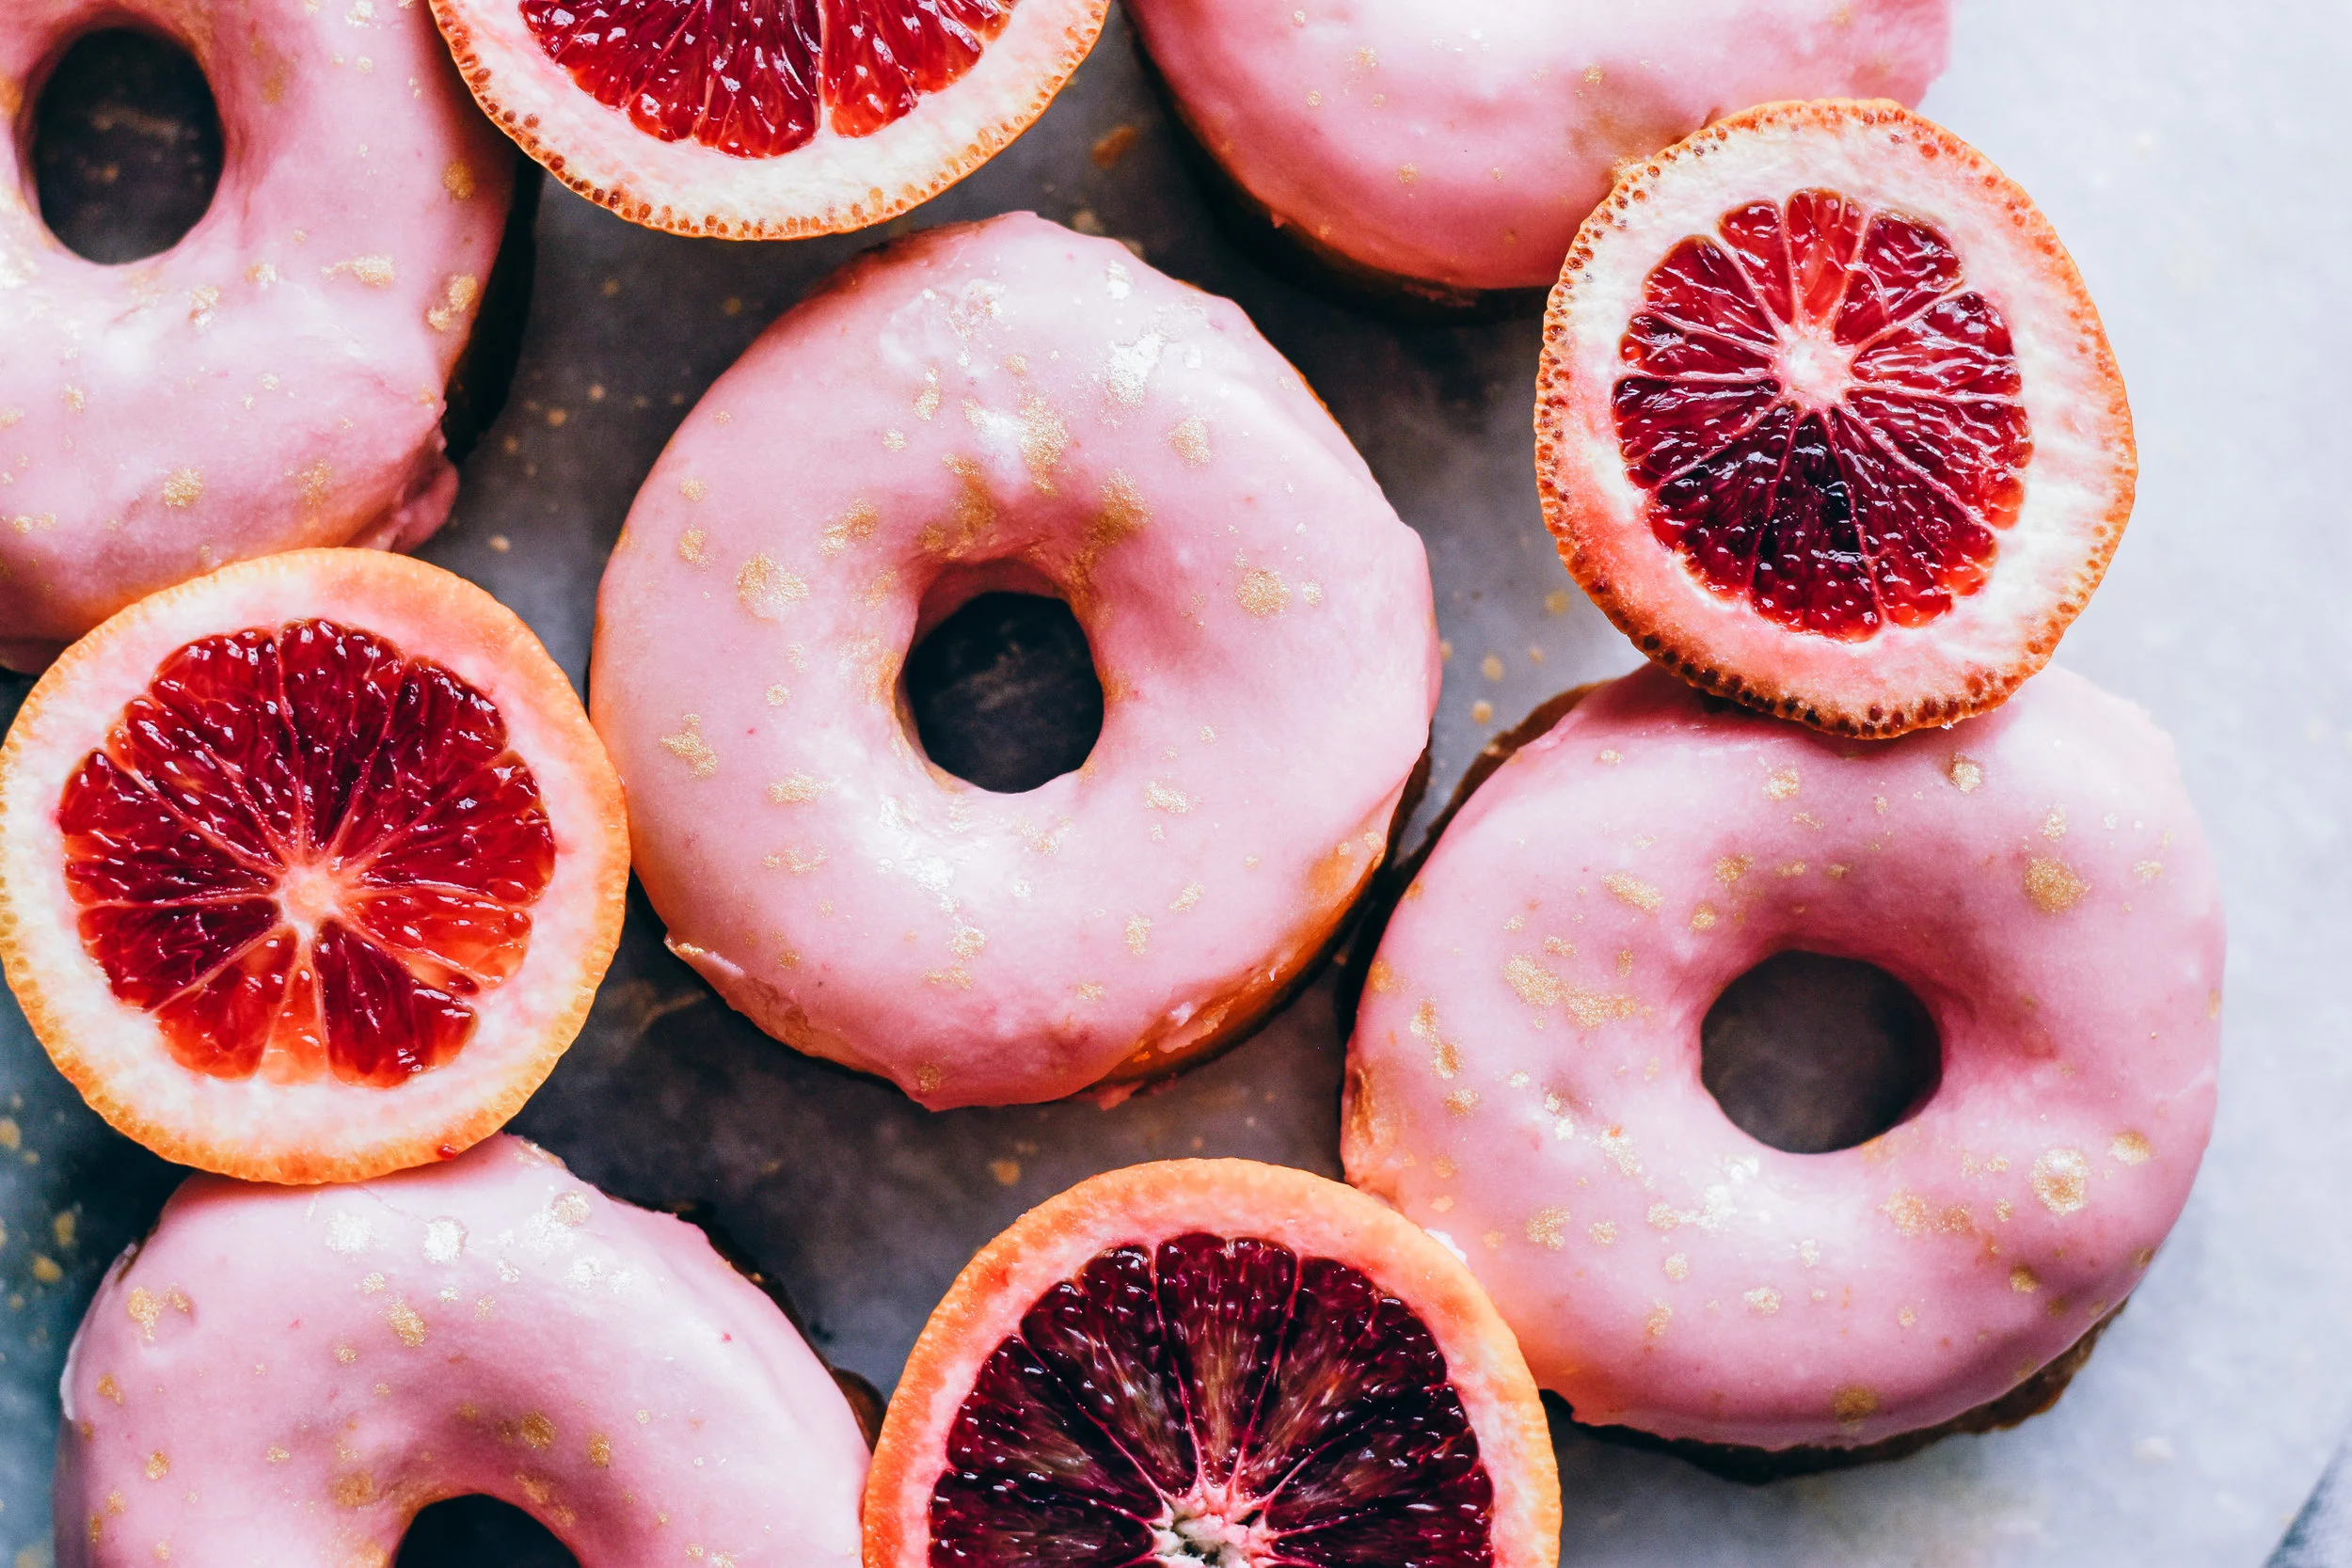
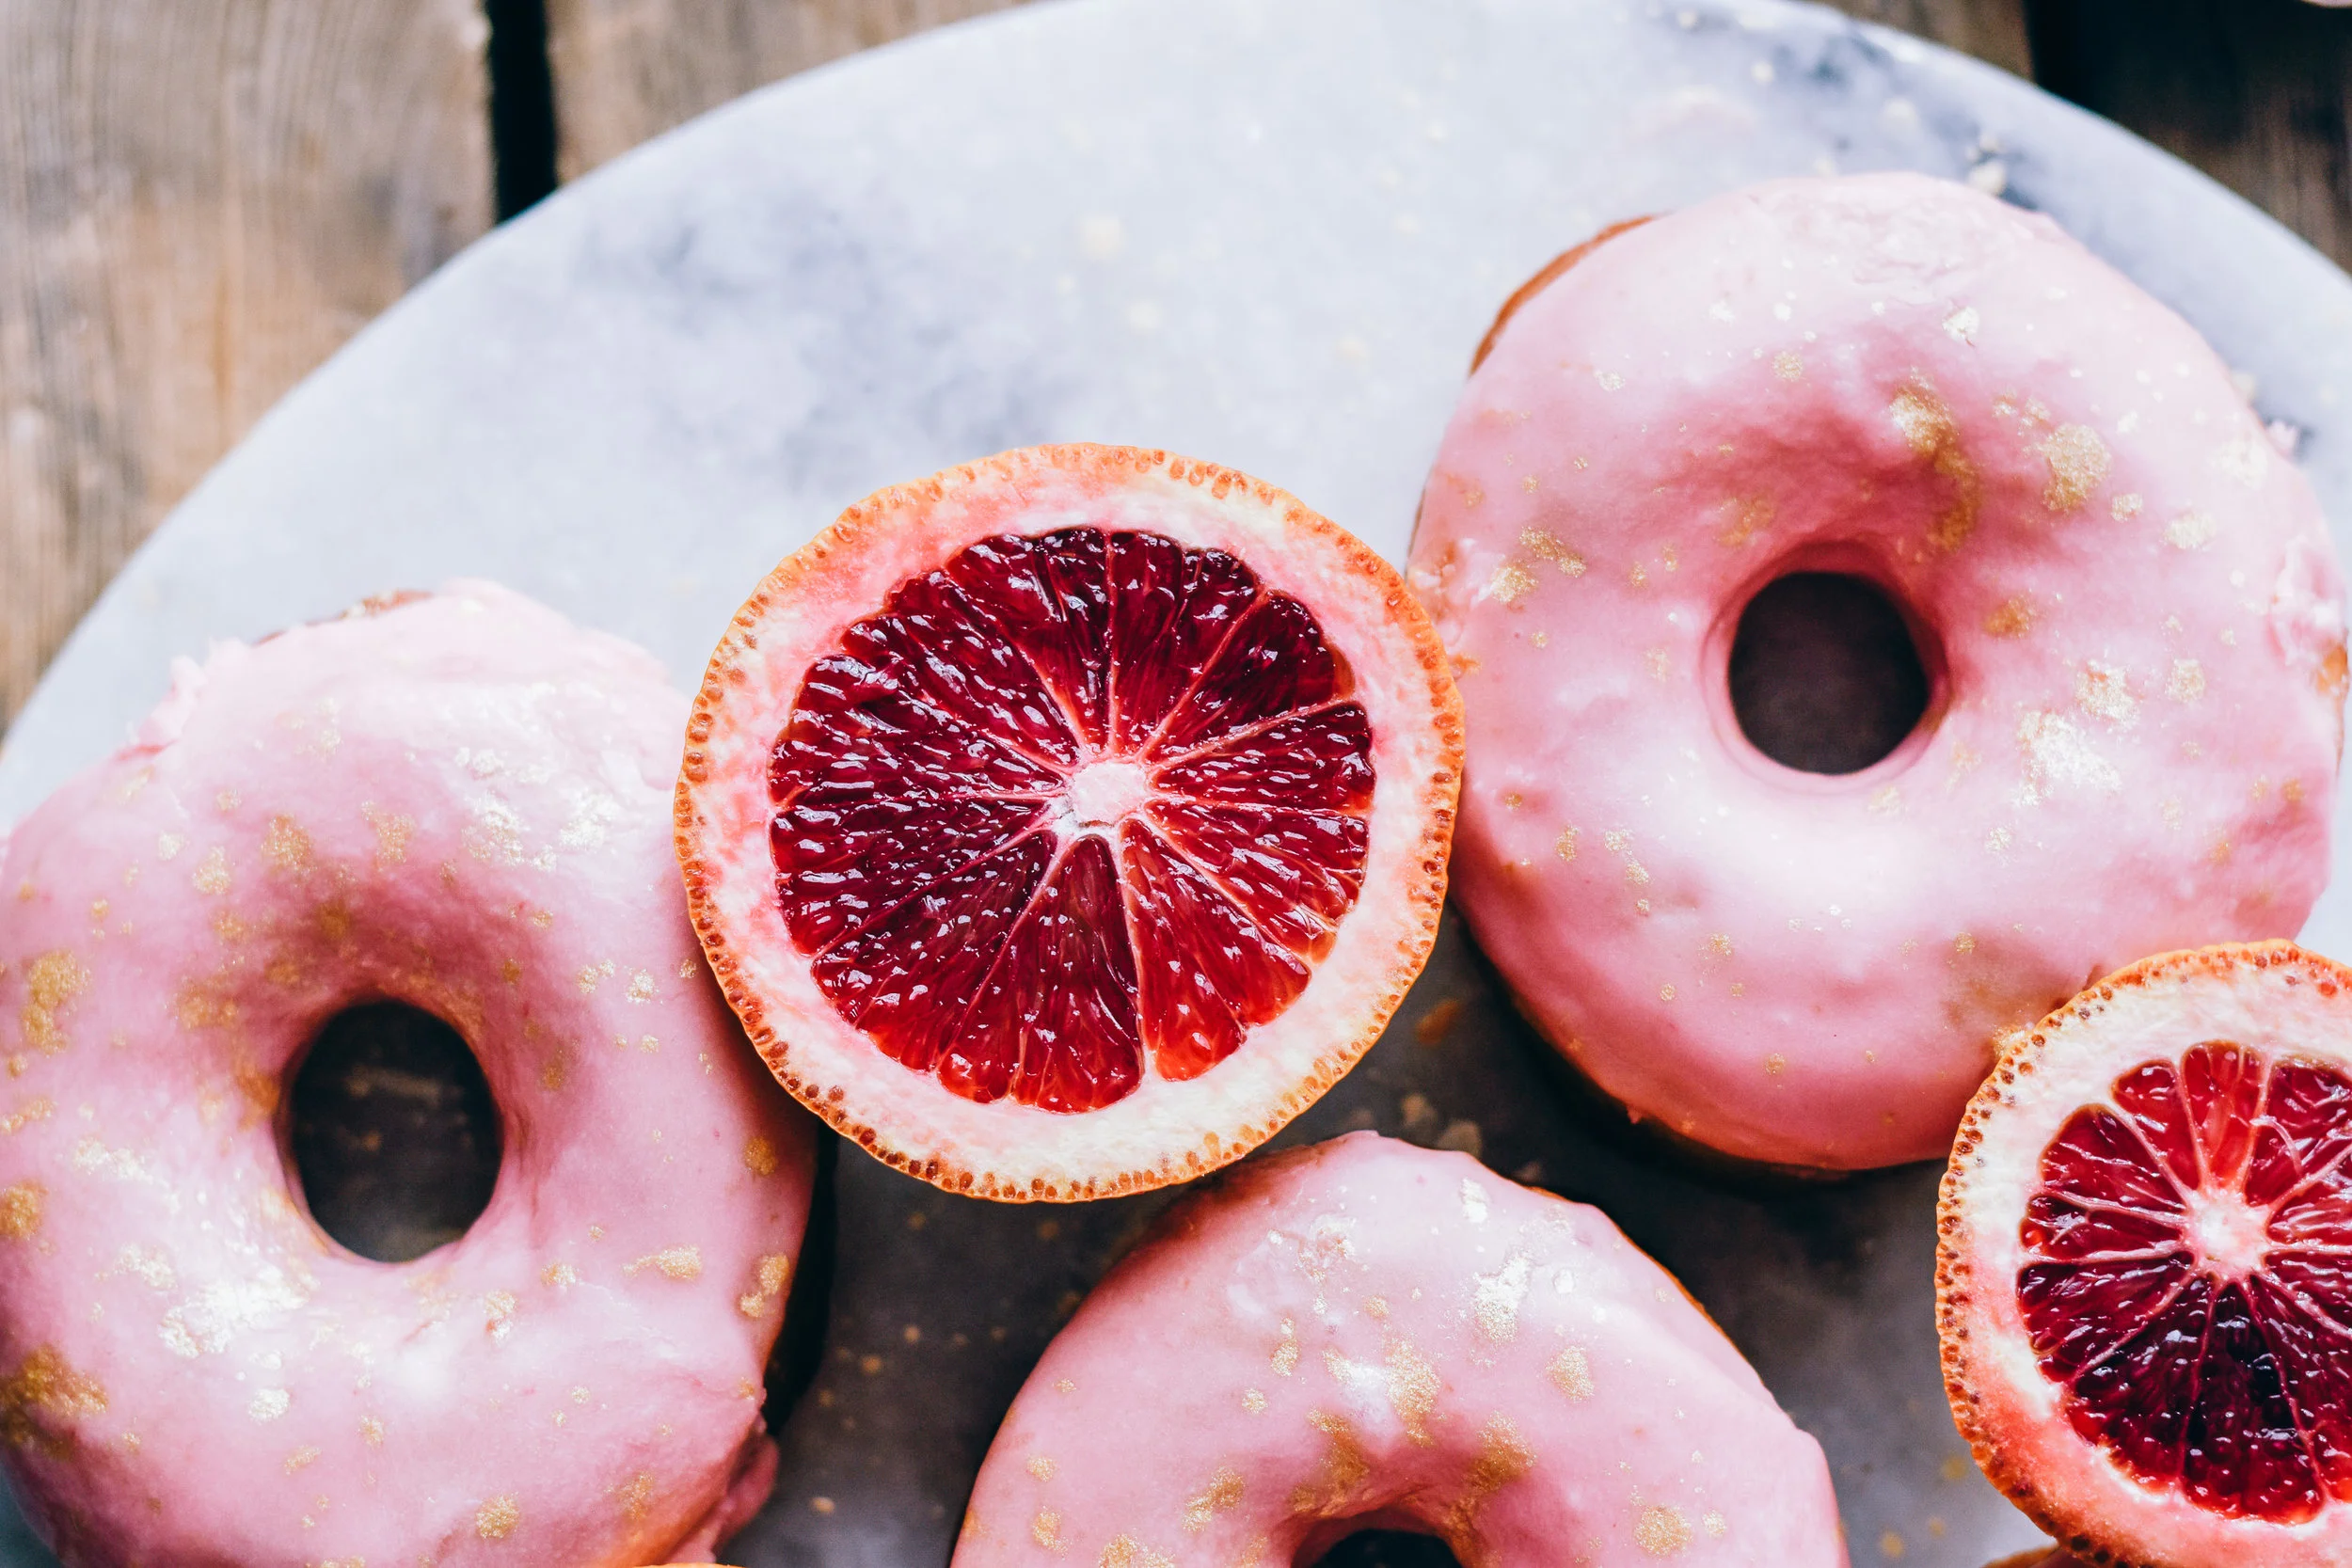
blood orange doughnuts with blood orange glaze
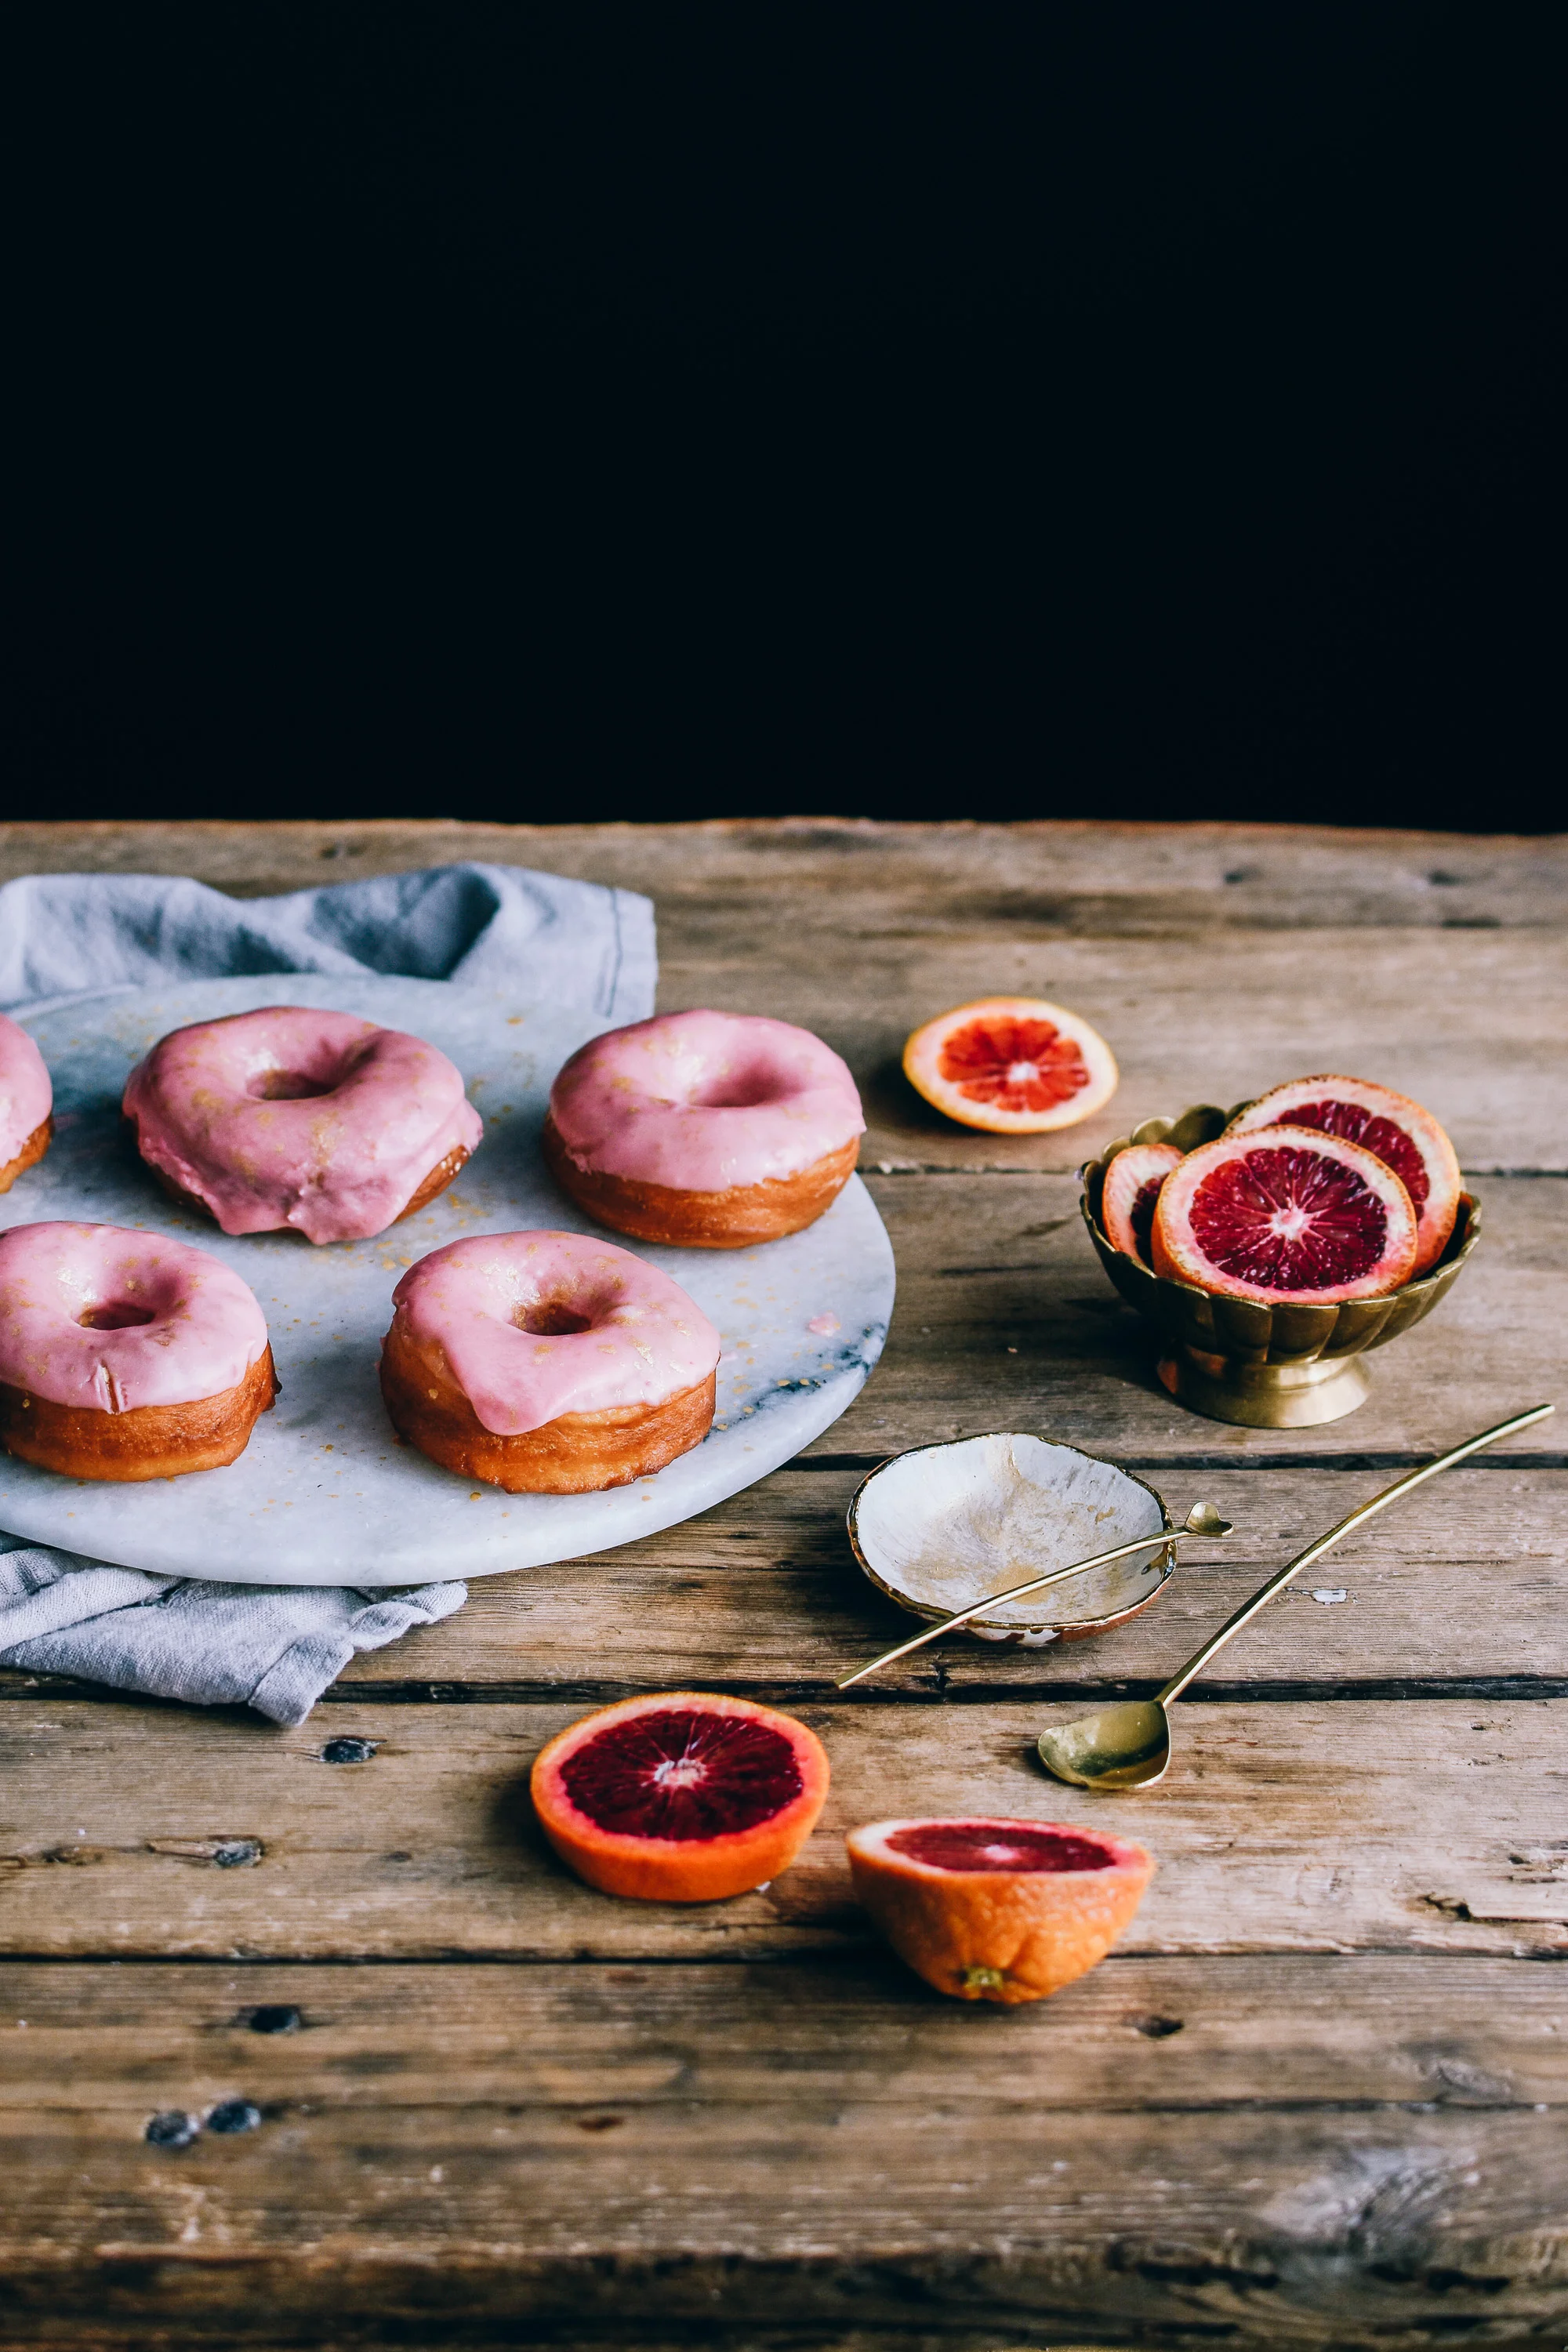

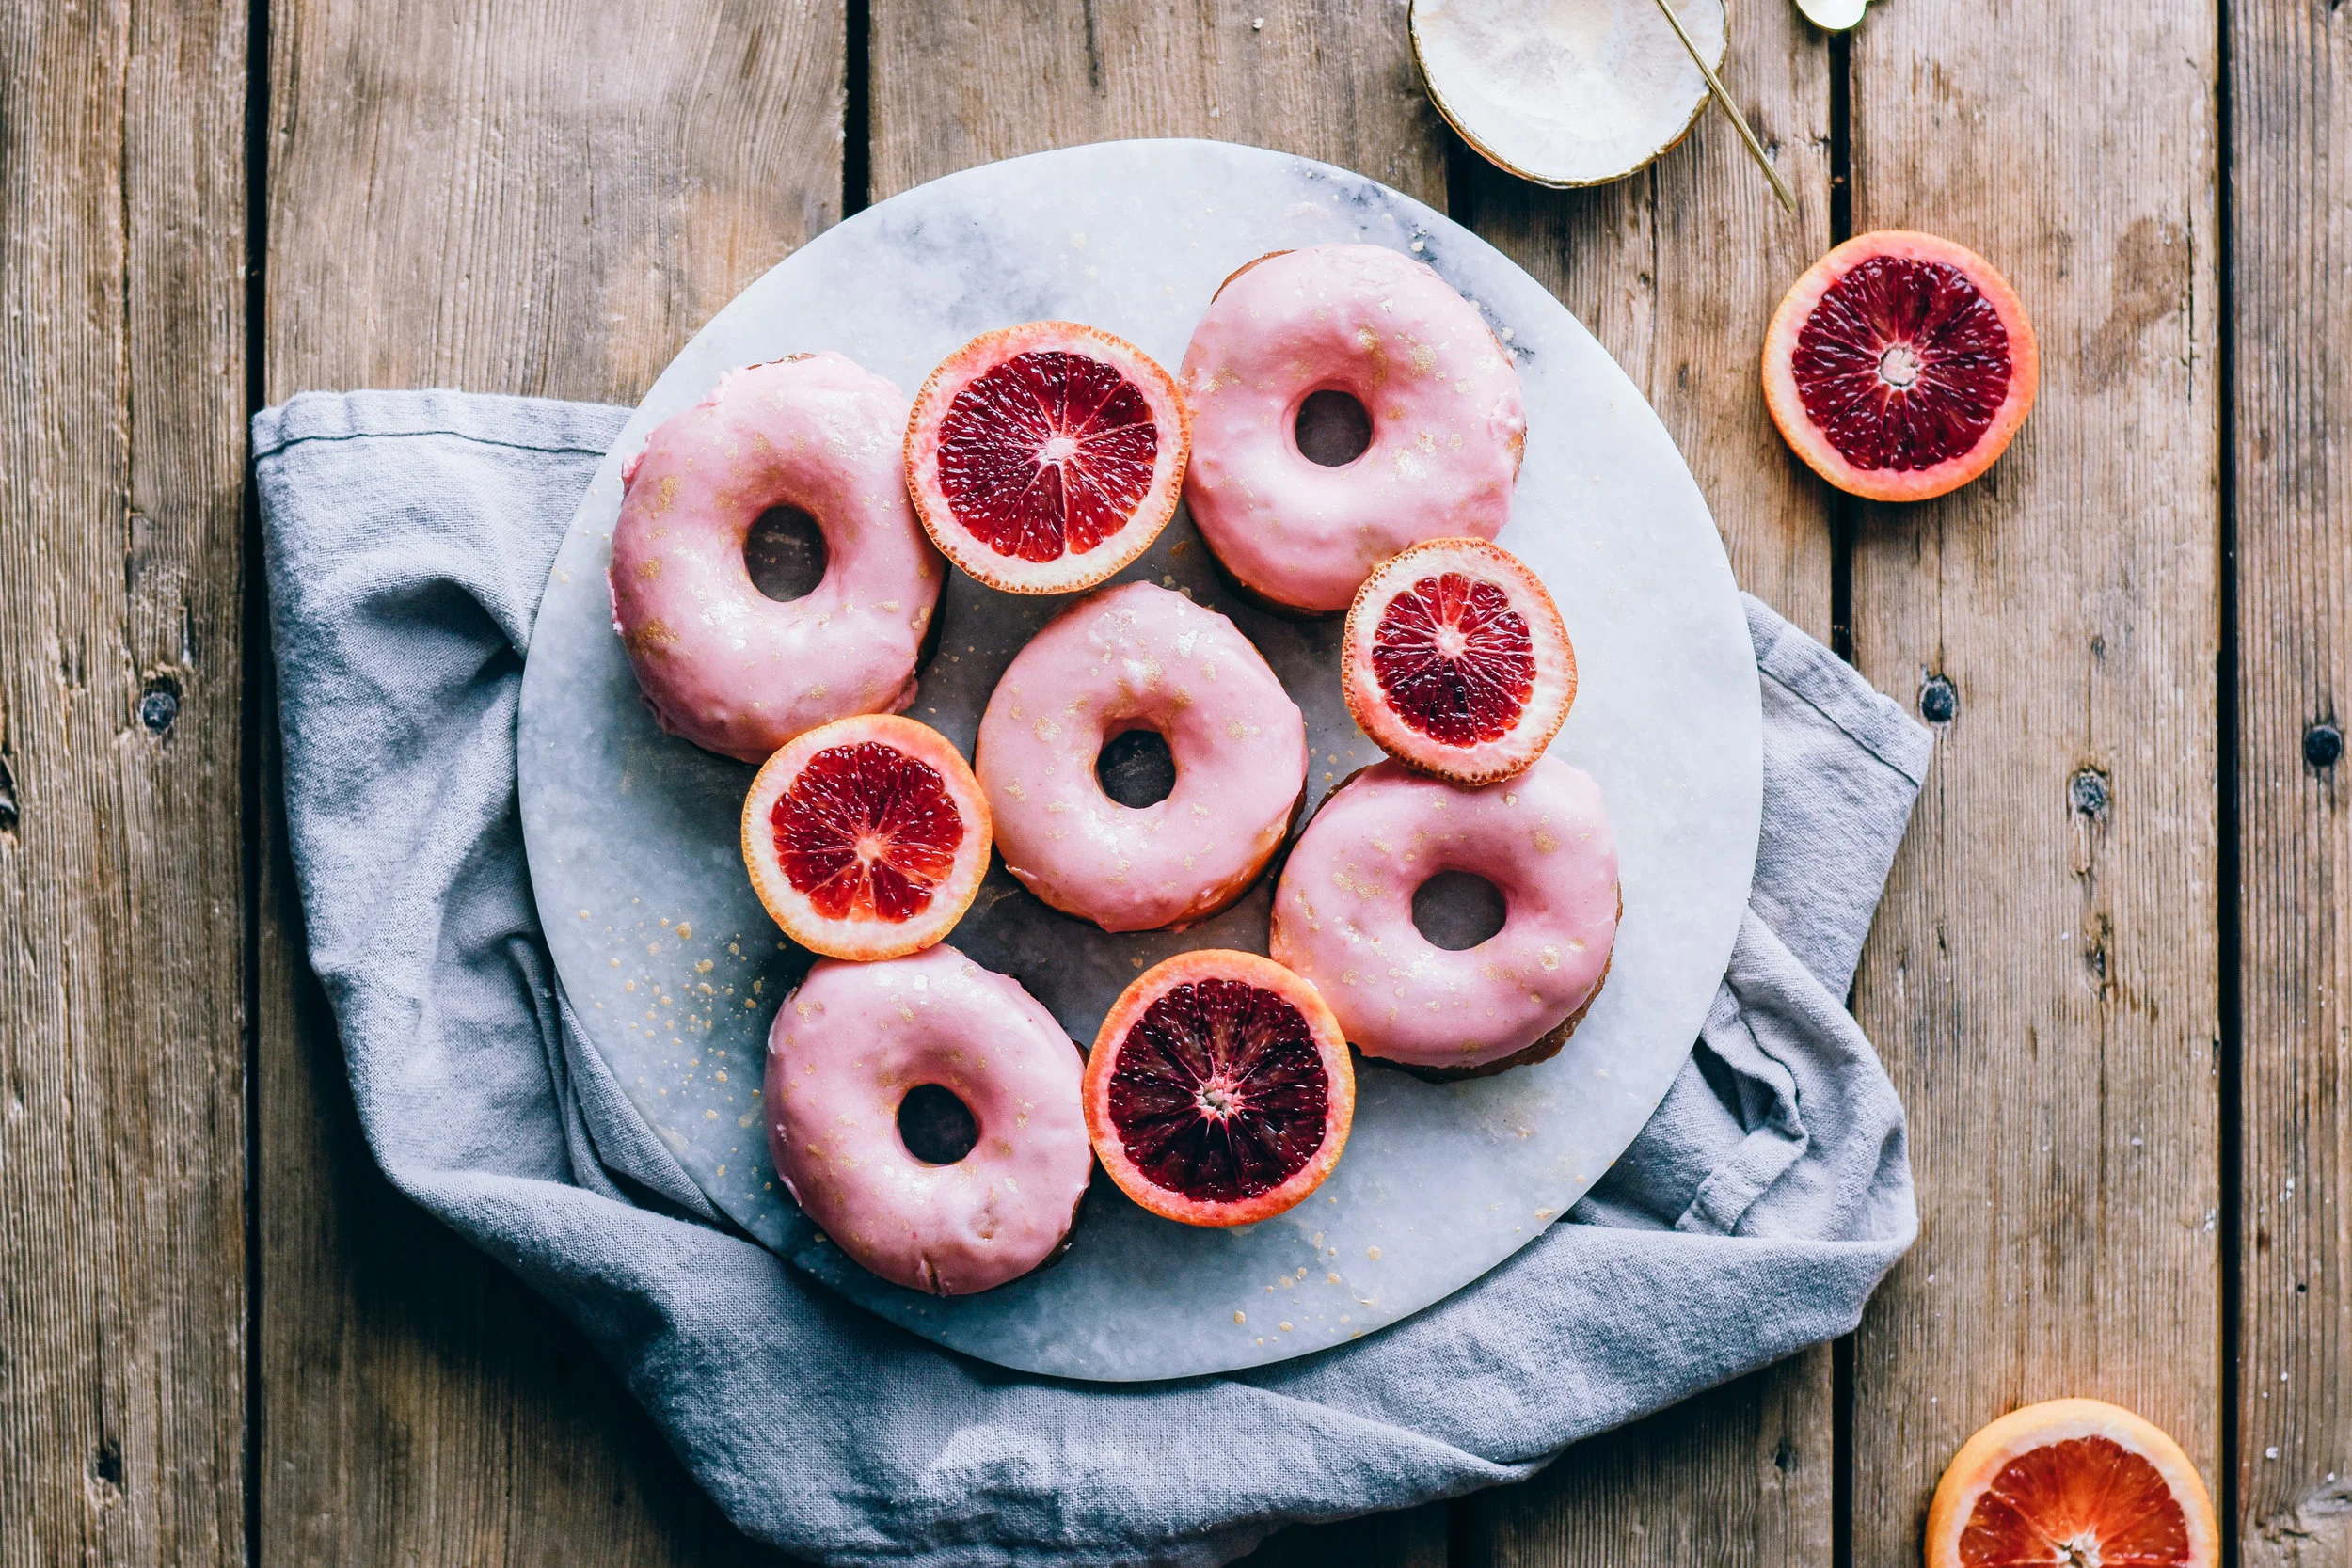
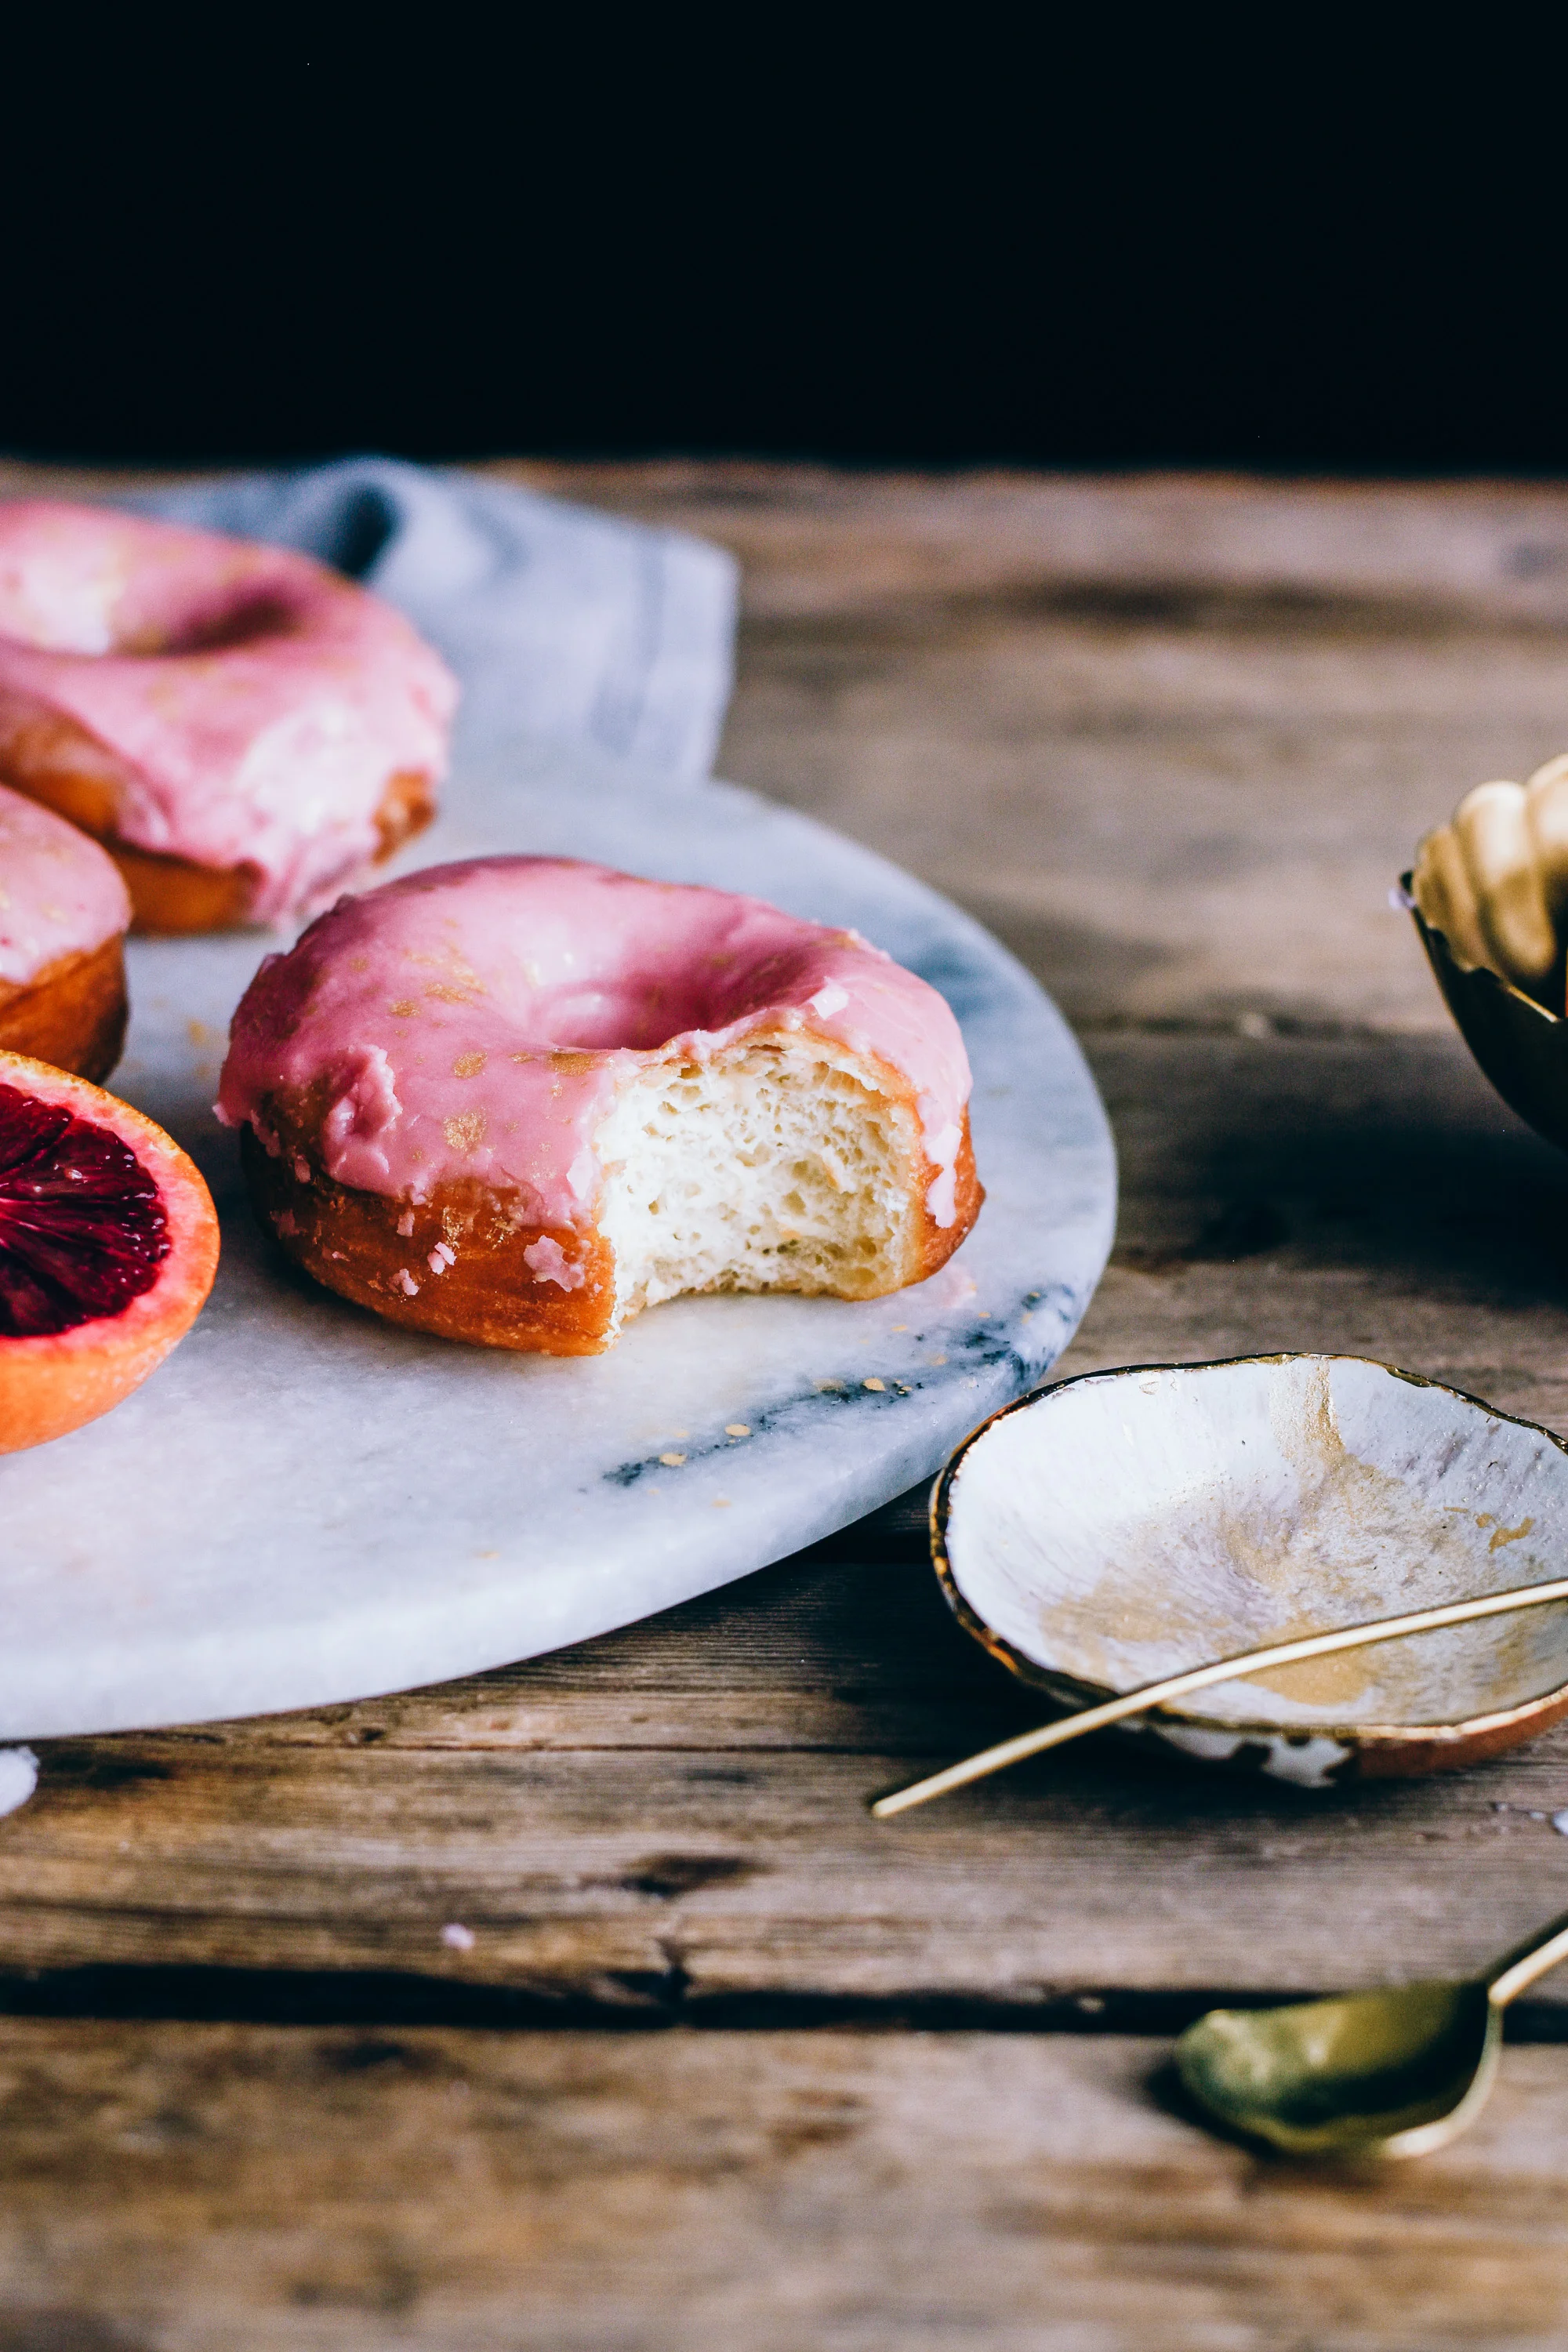
Today we’re talking about fluffy fluffy DOUGHNUTS. They have the freshest zest of blood orange in them, and I can’t get enough of them.
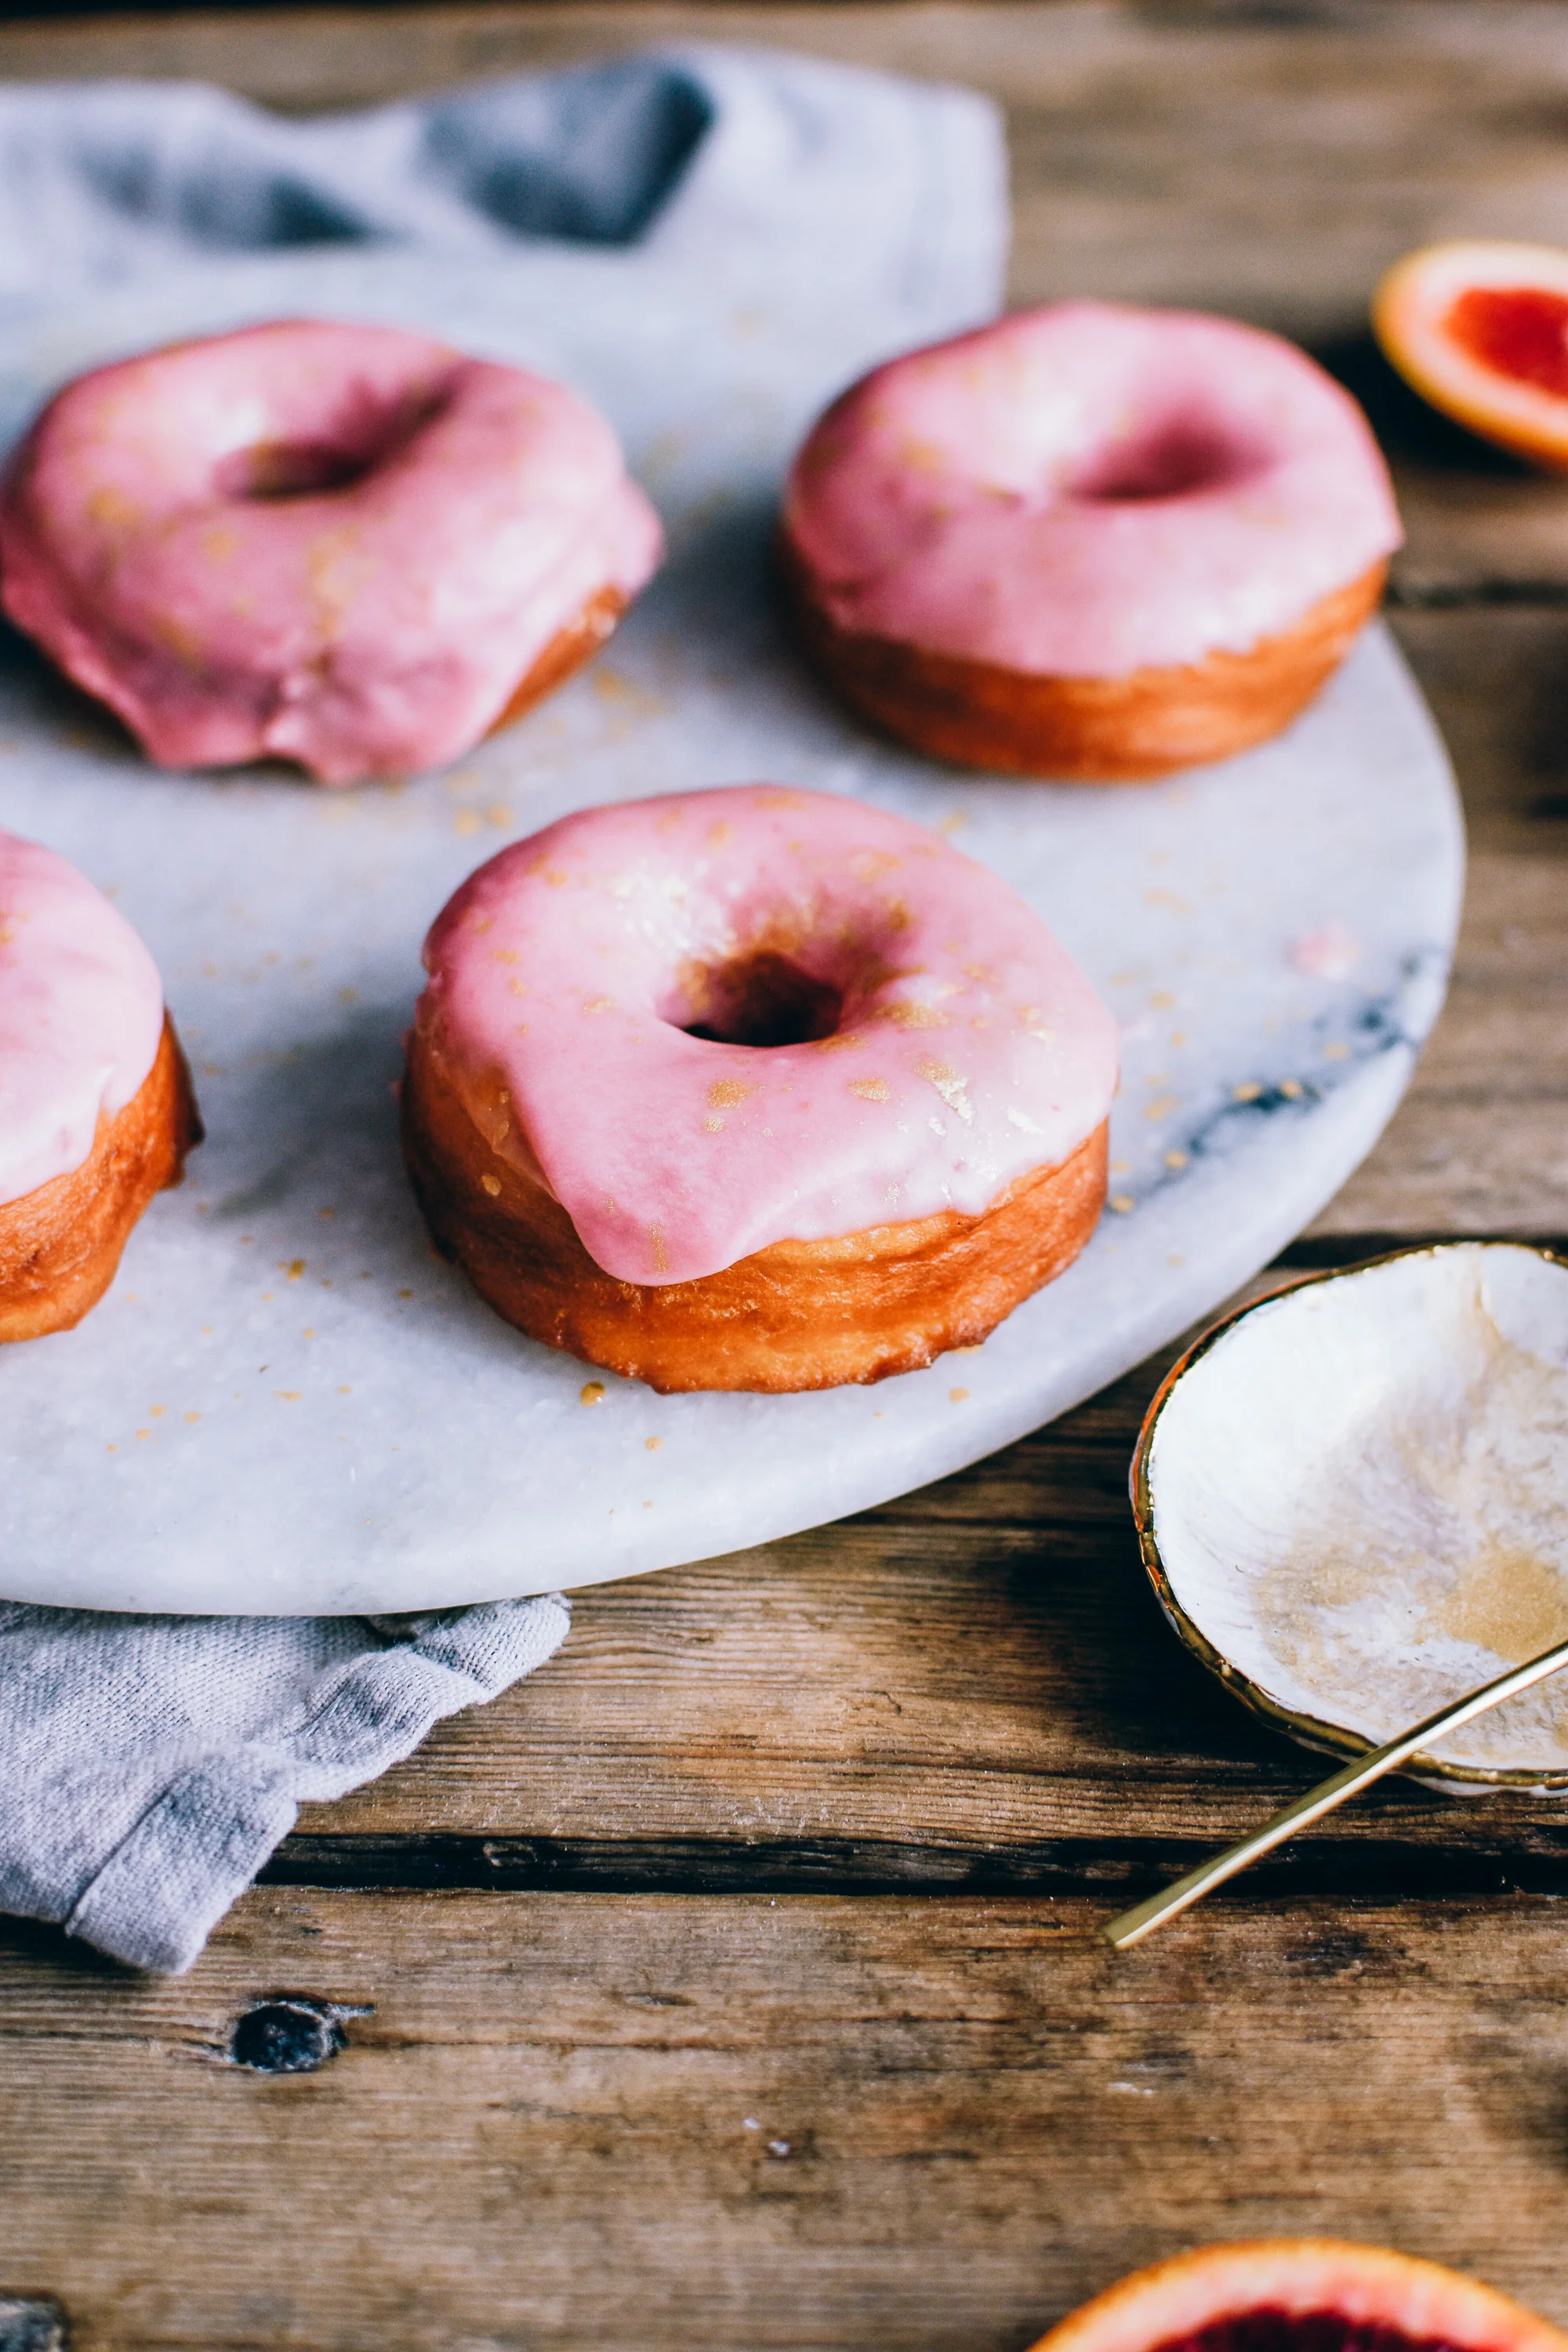
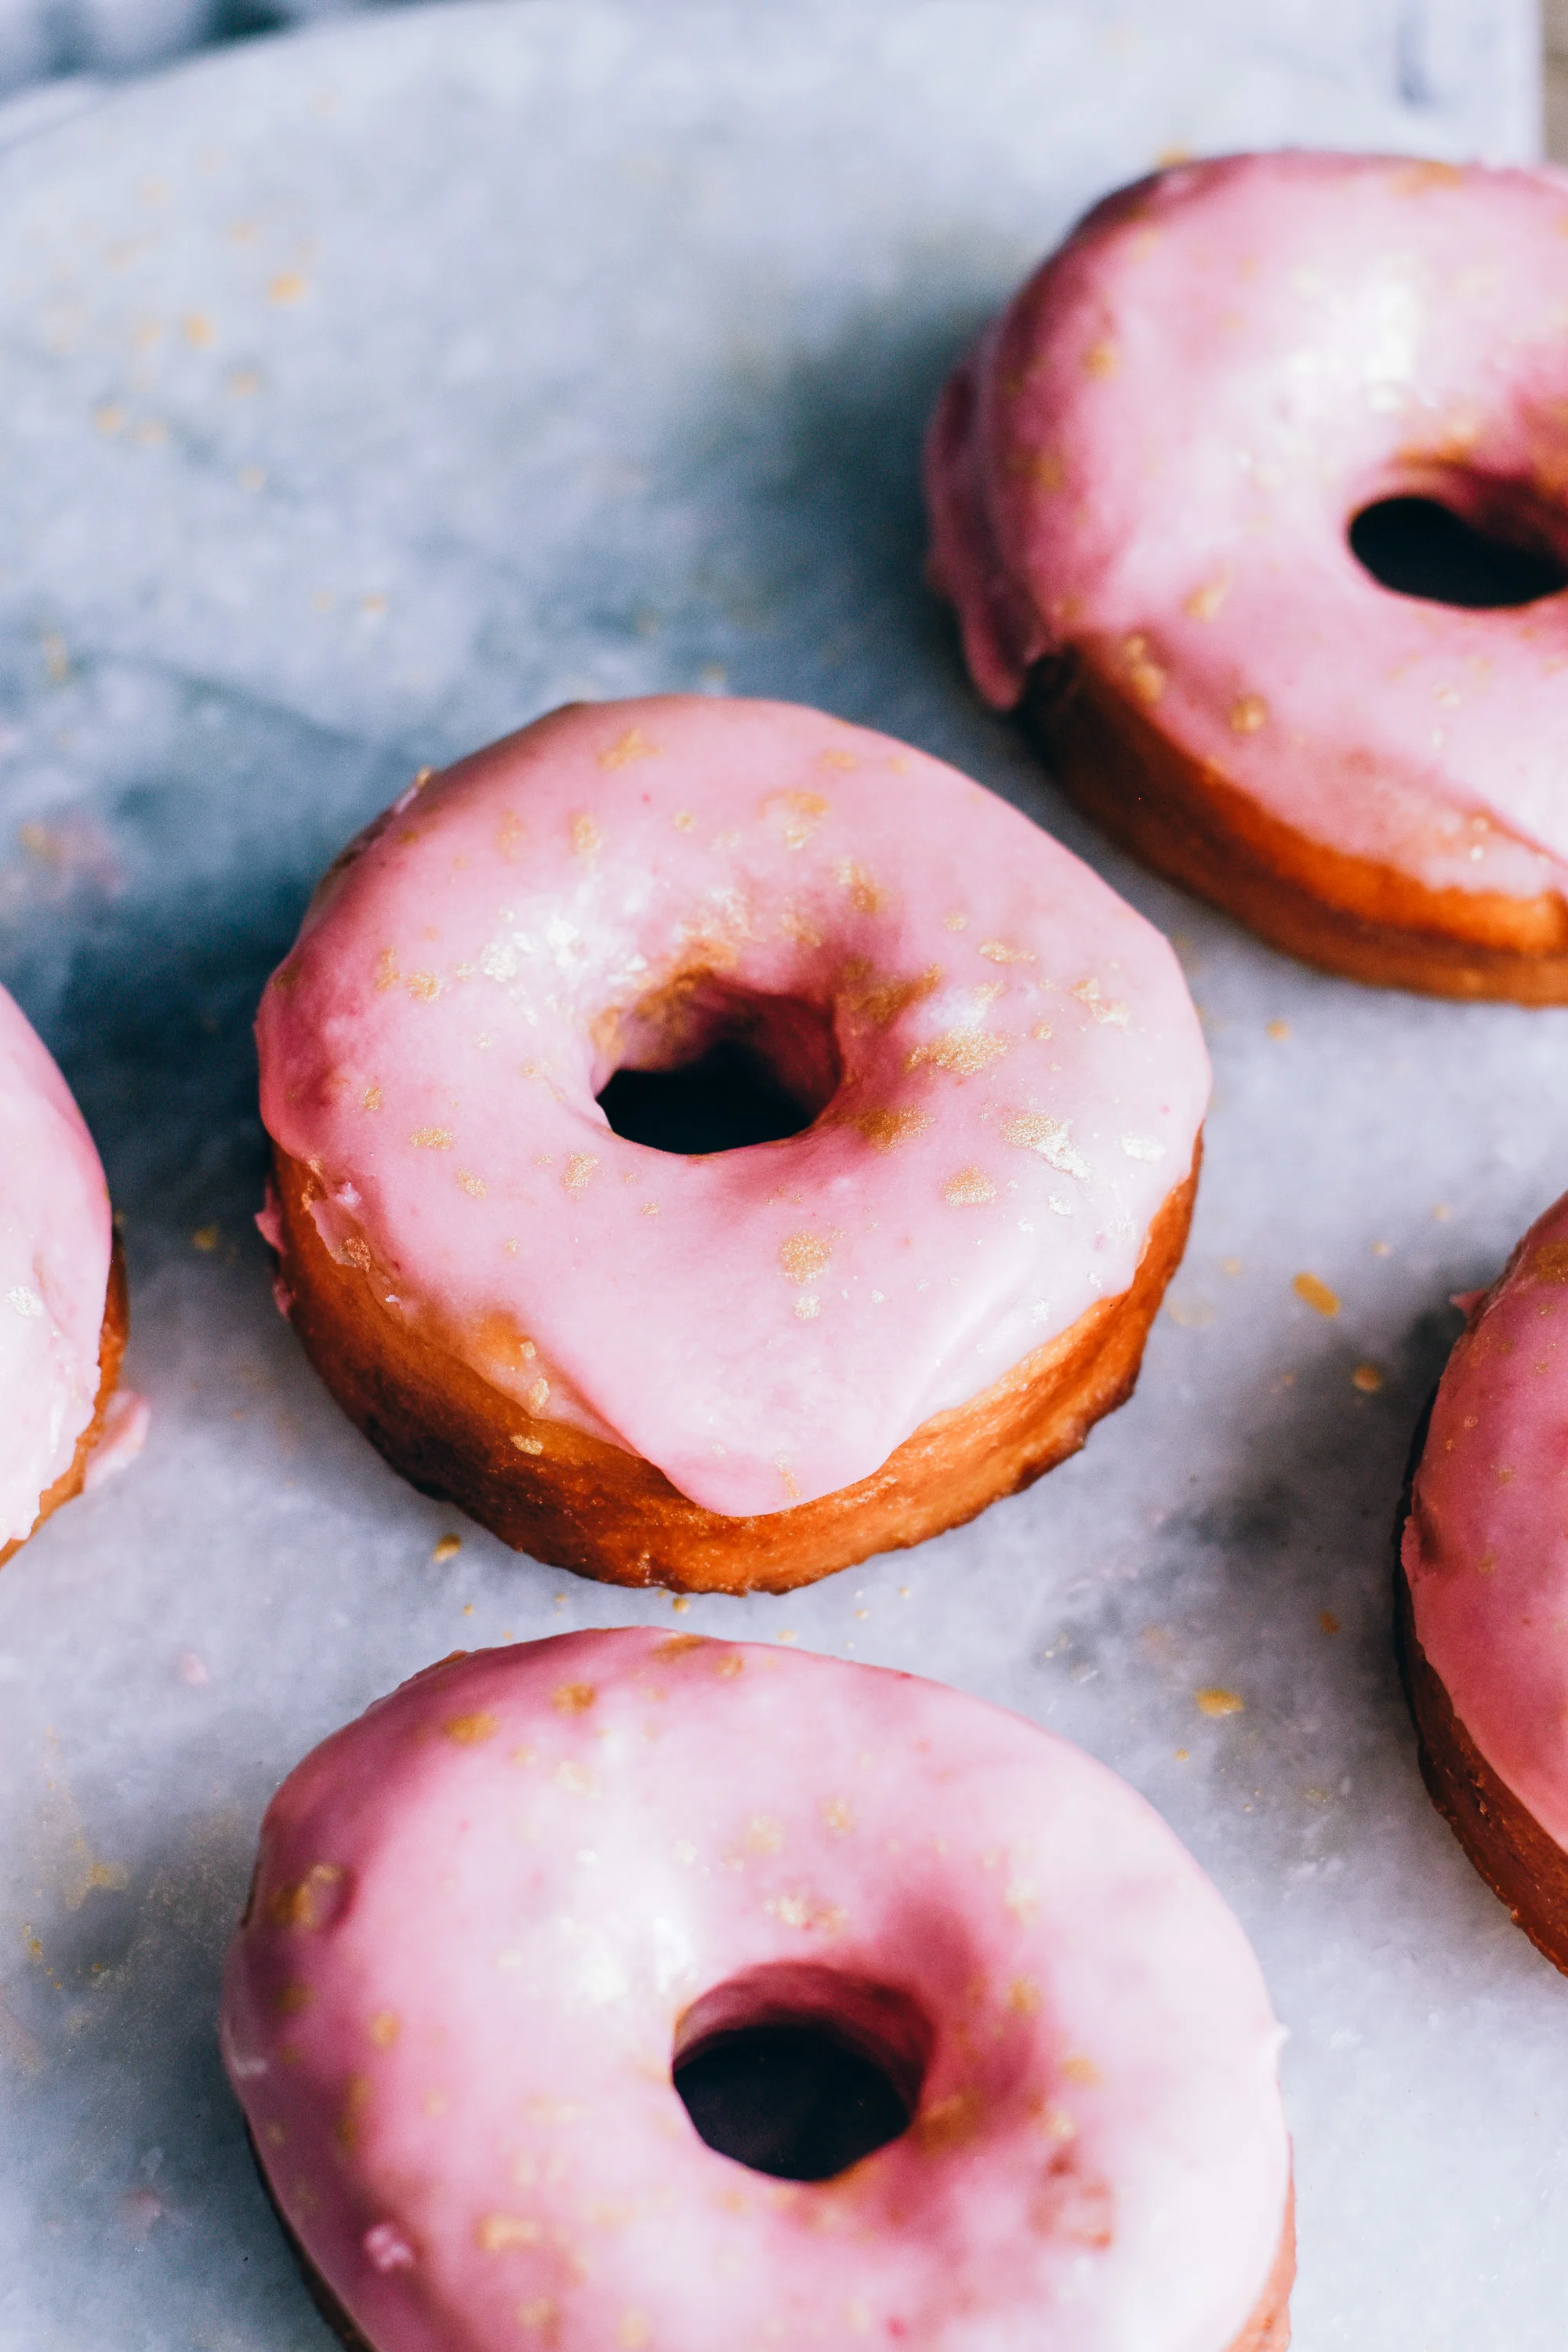
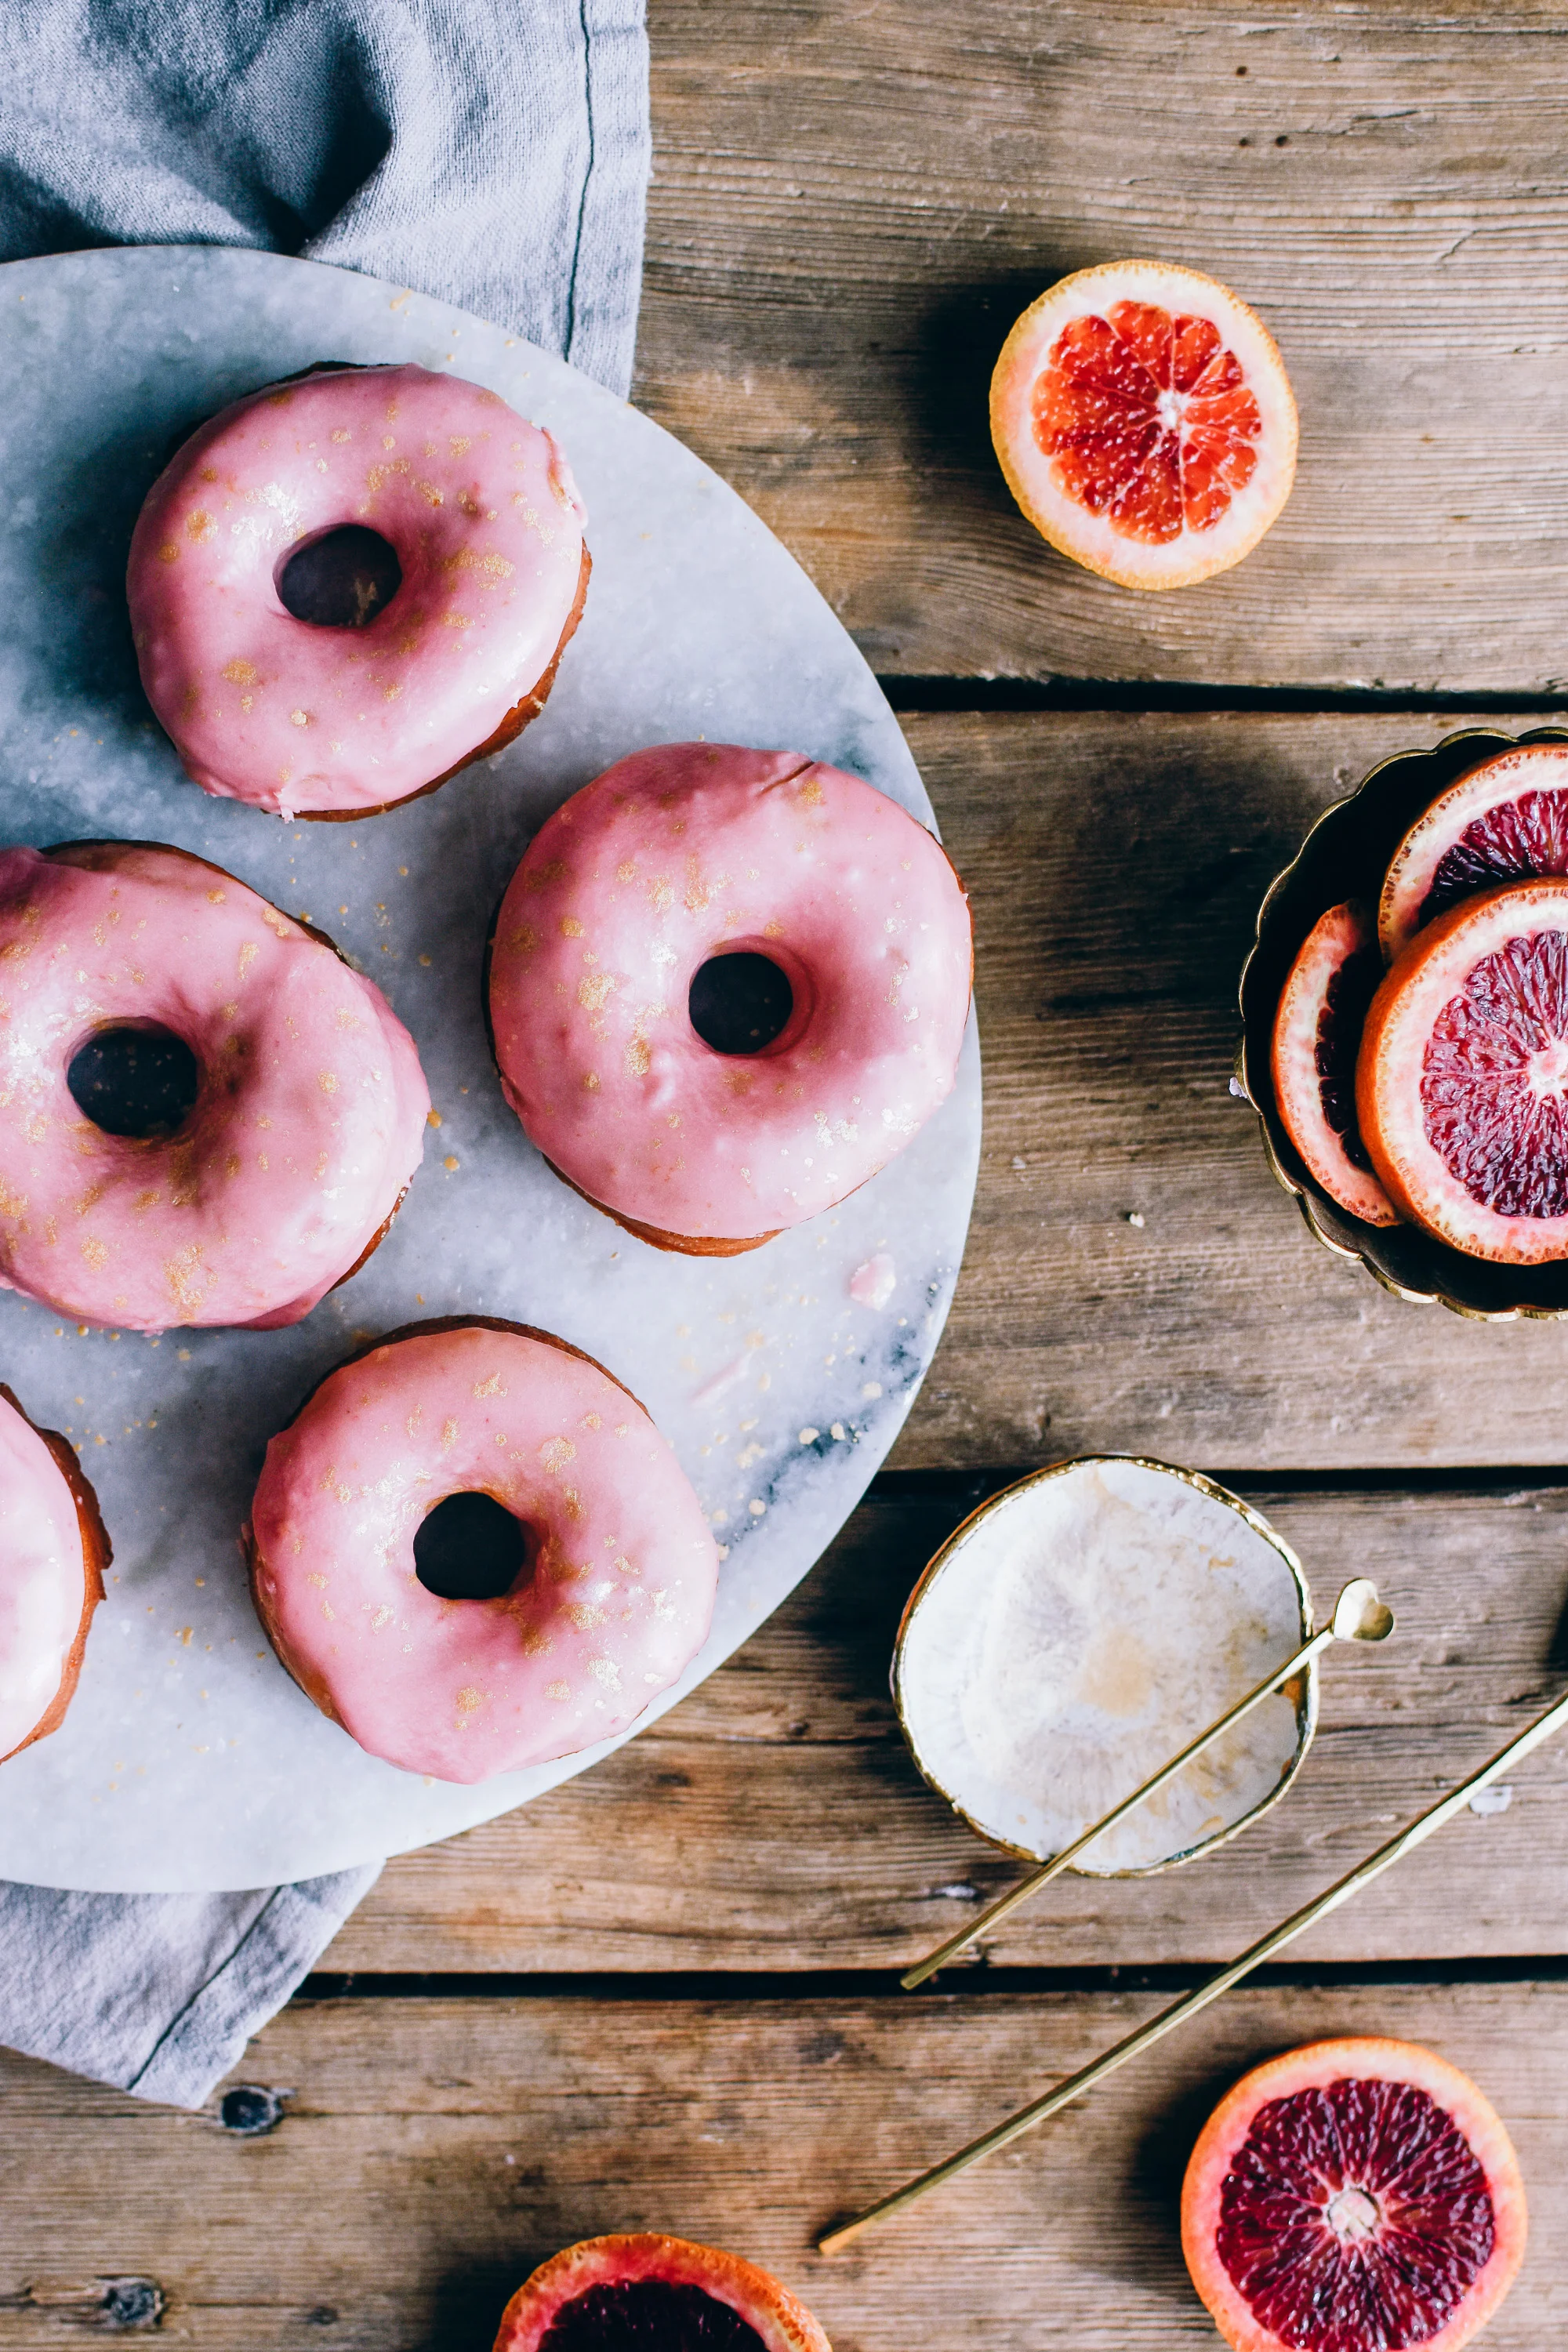
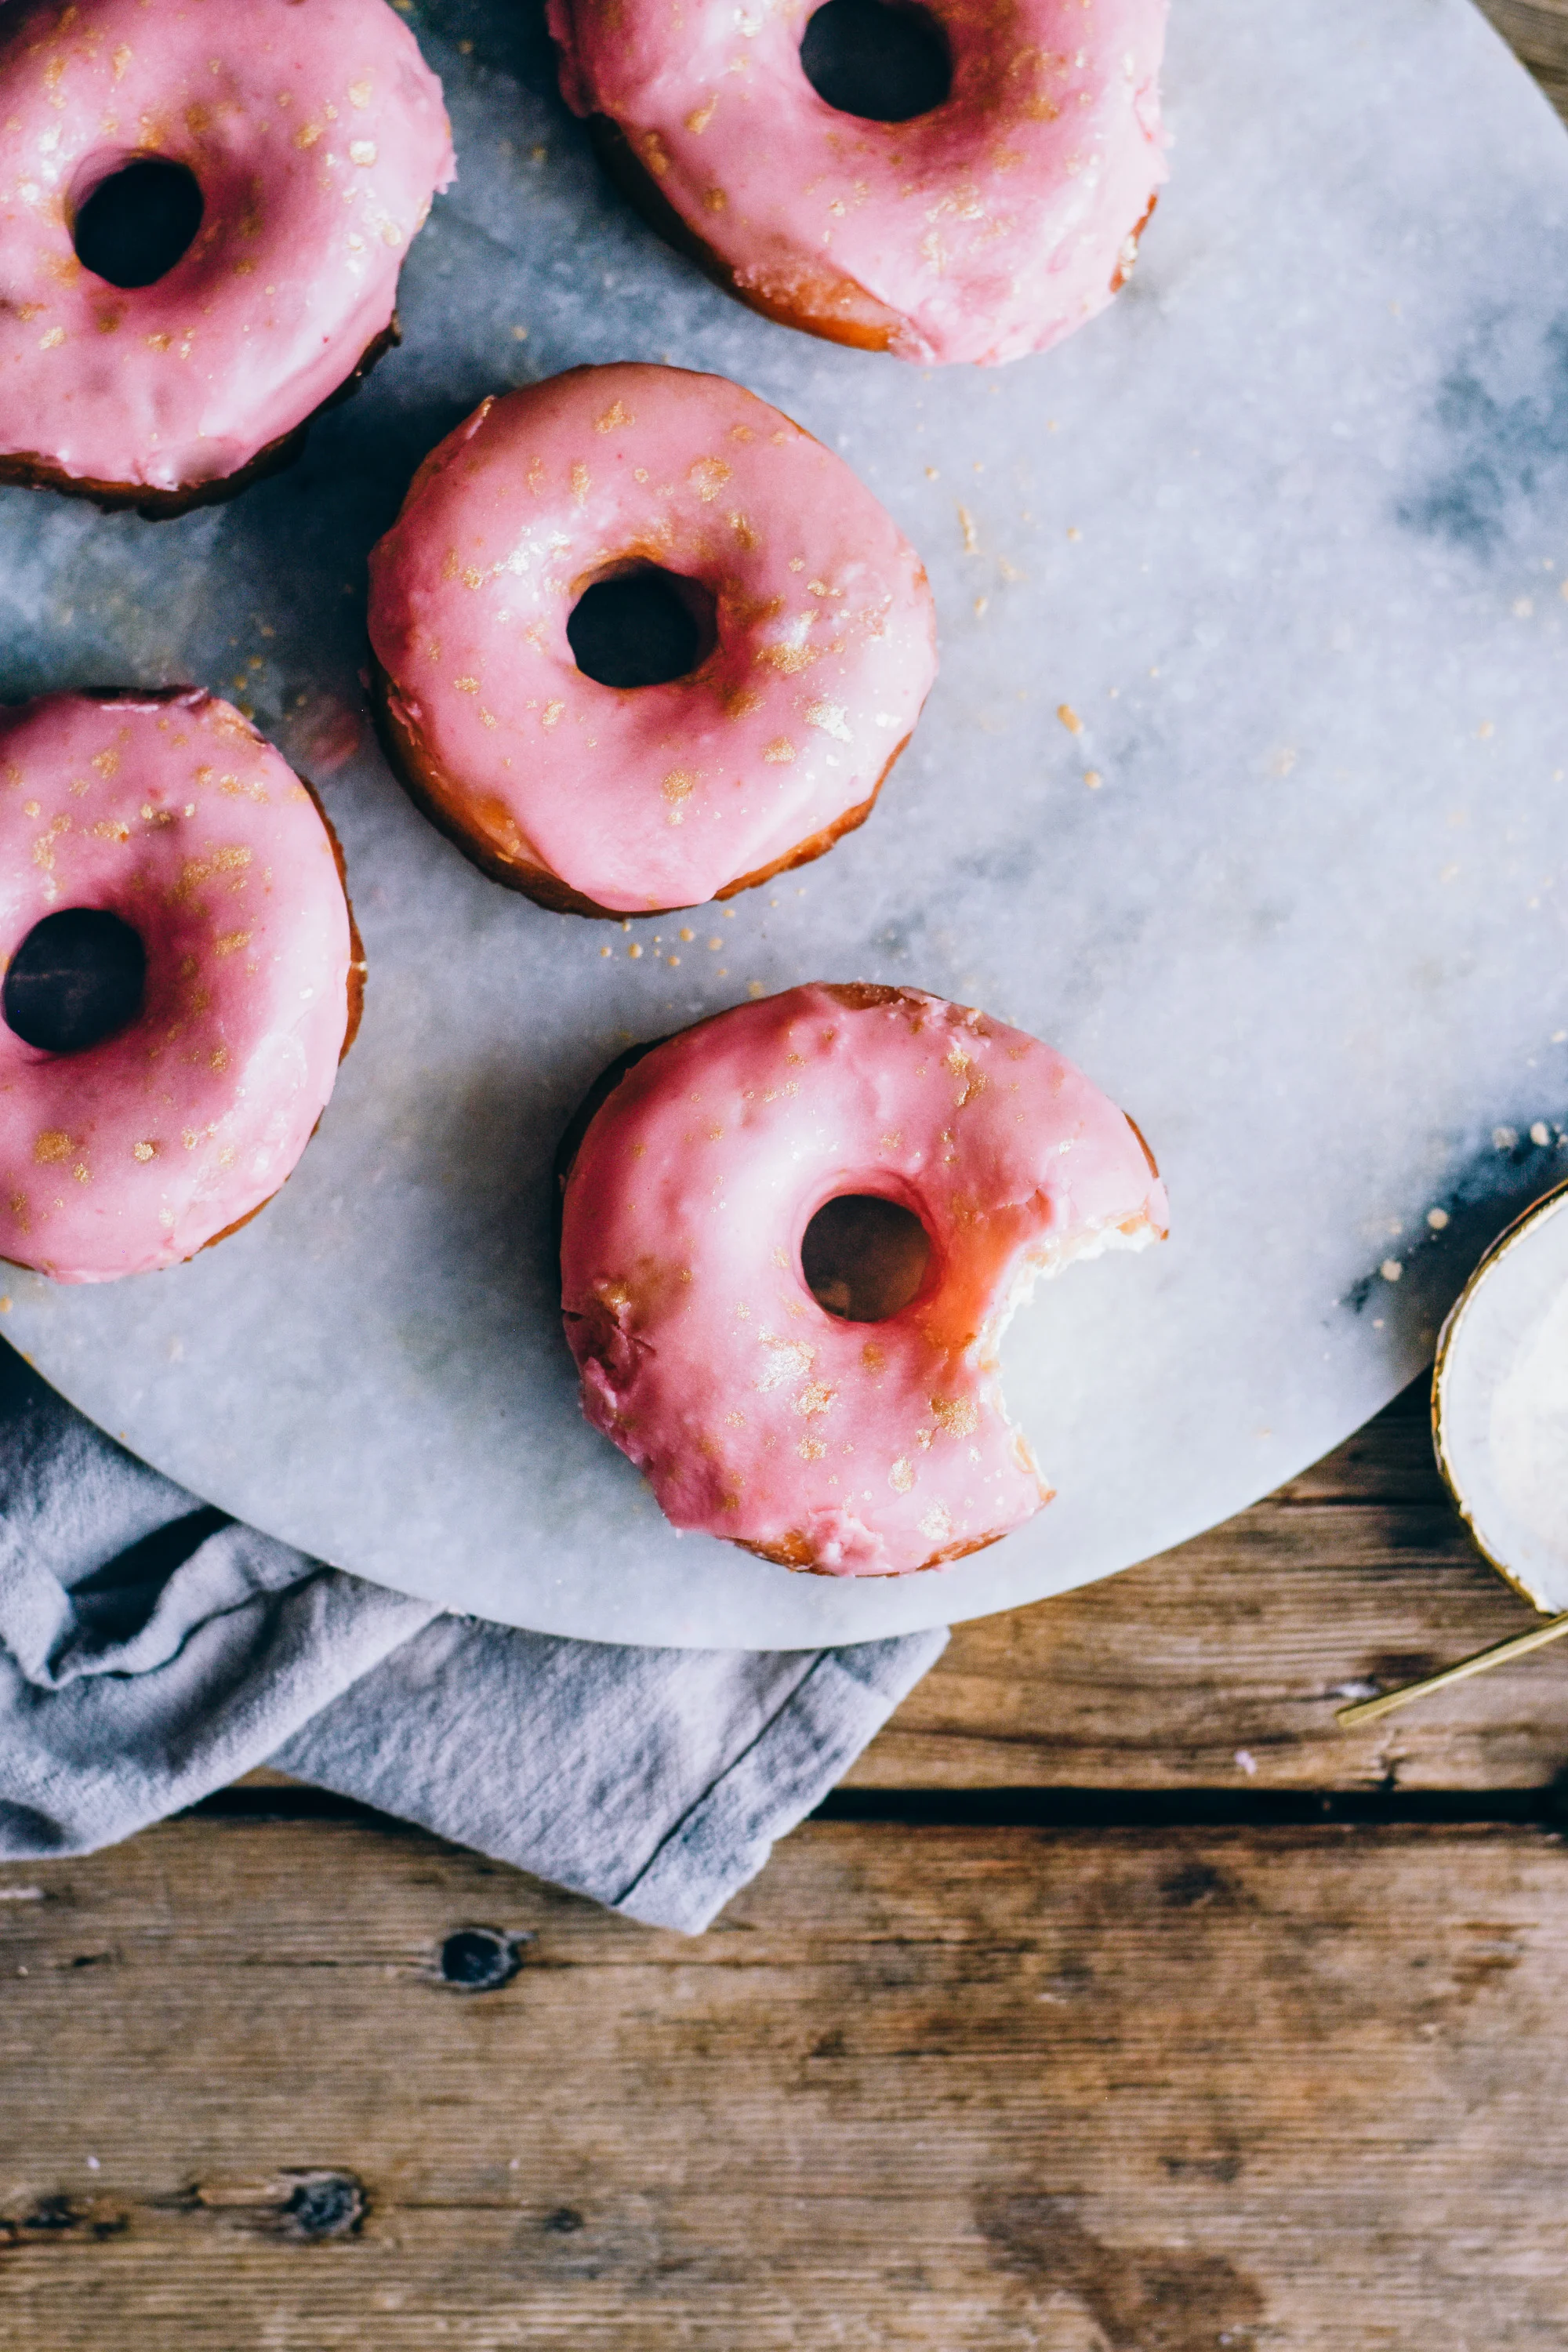
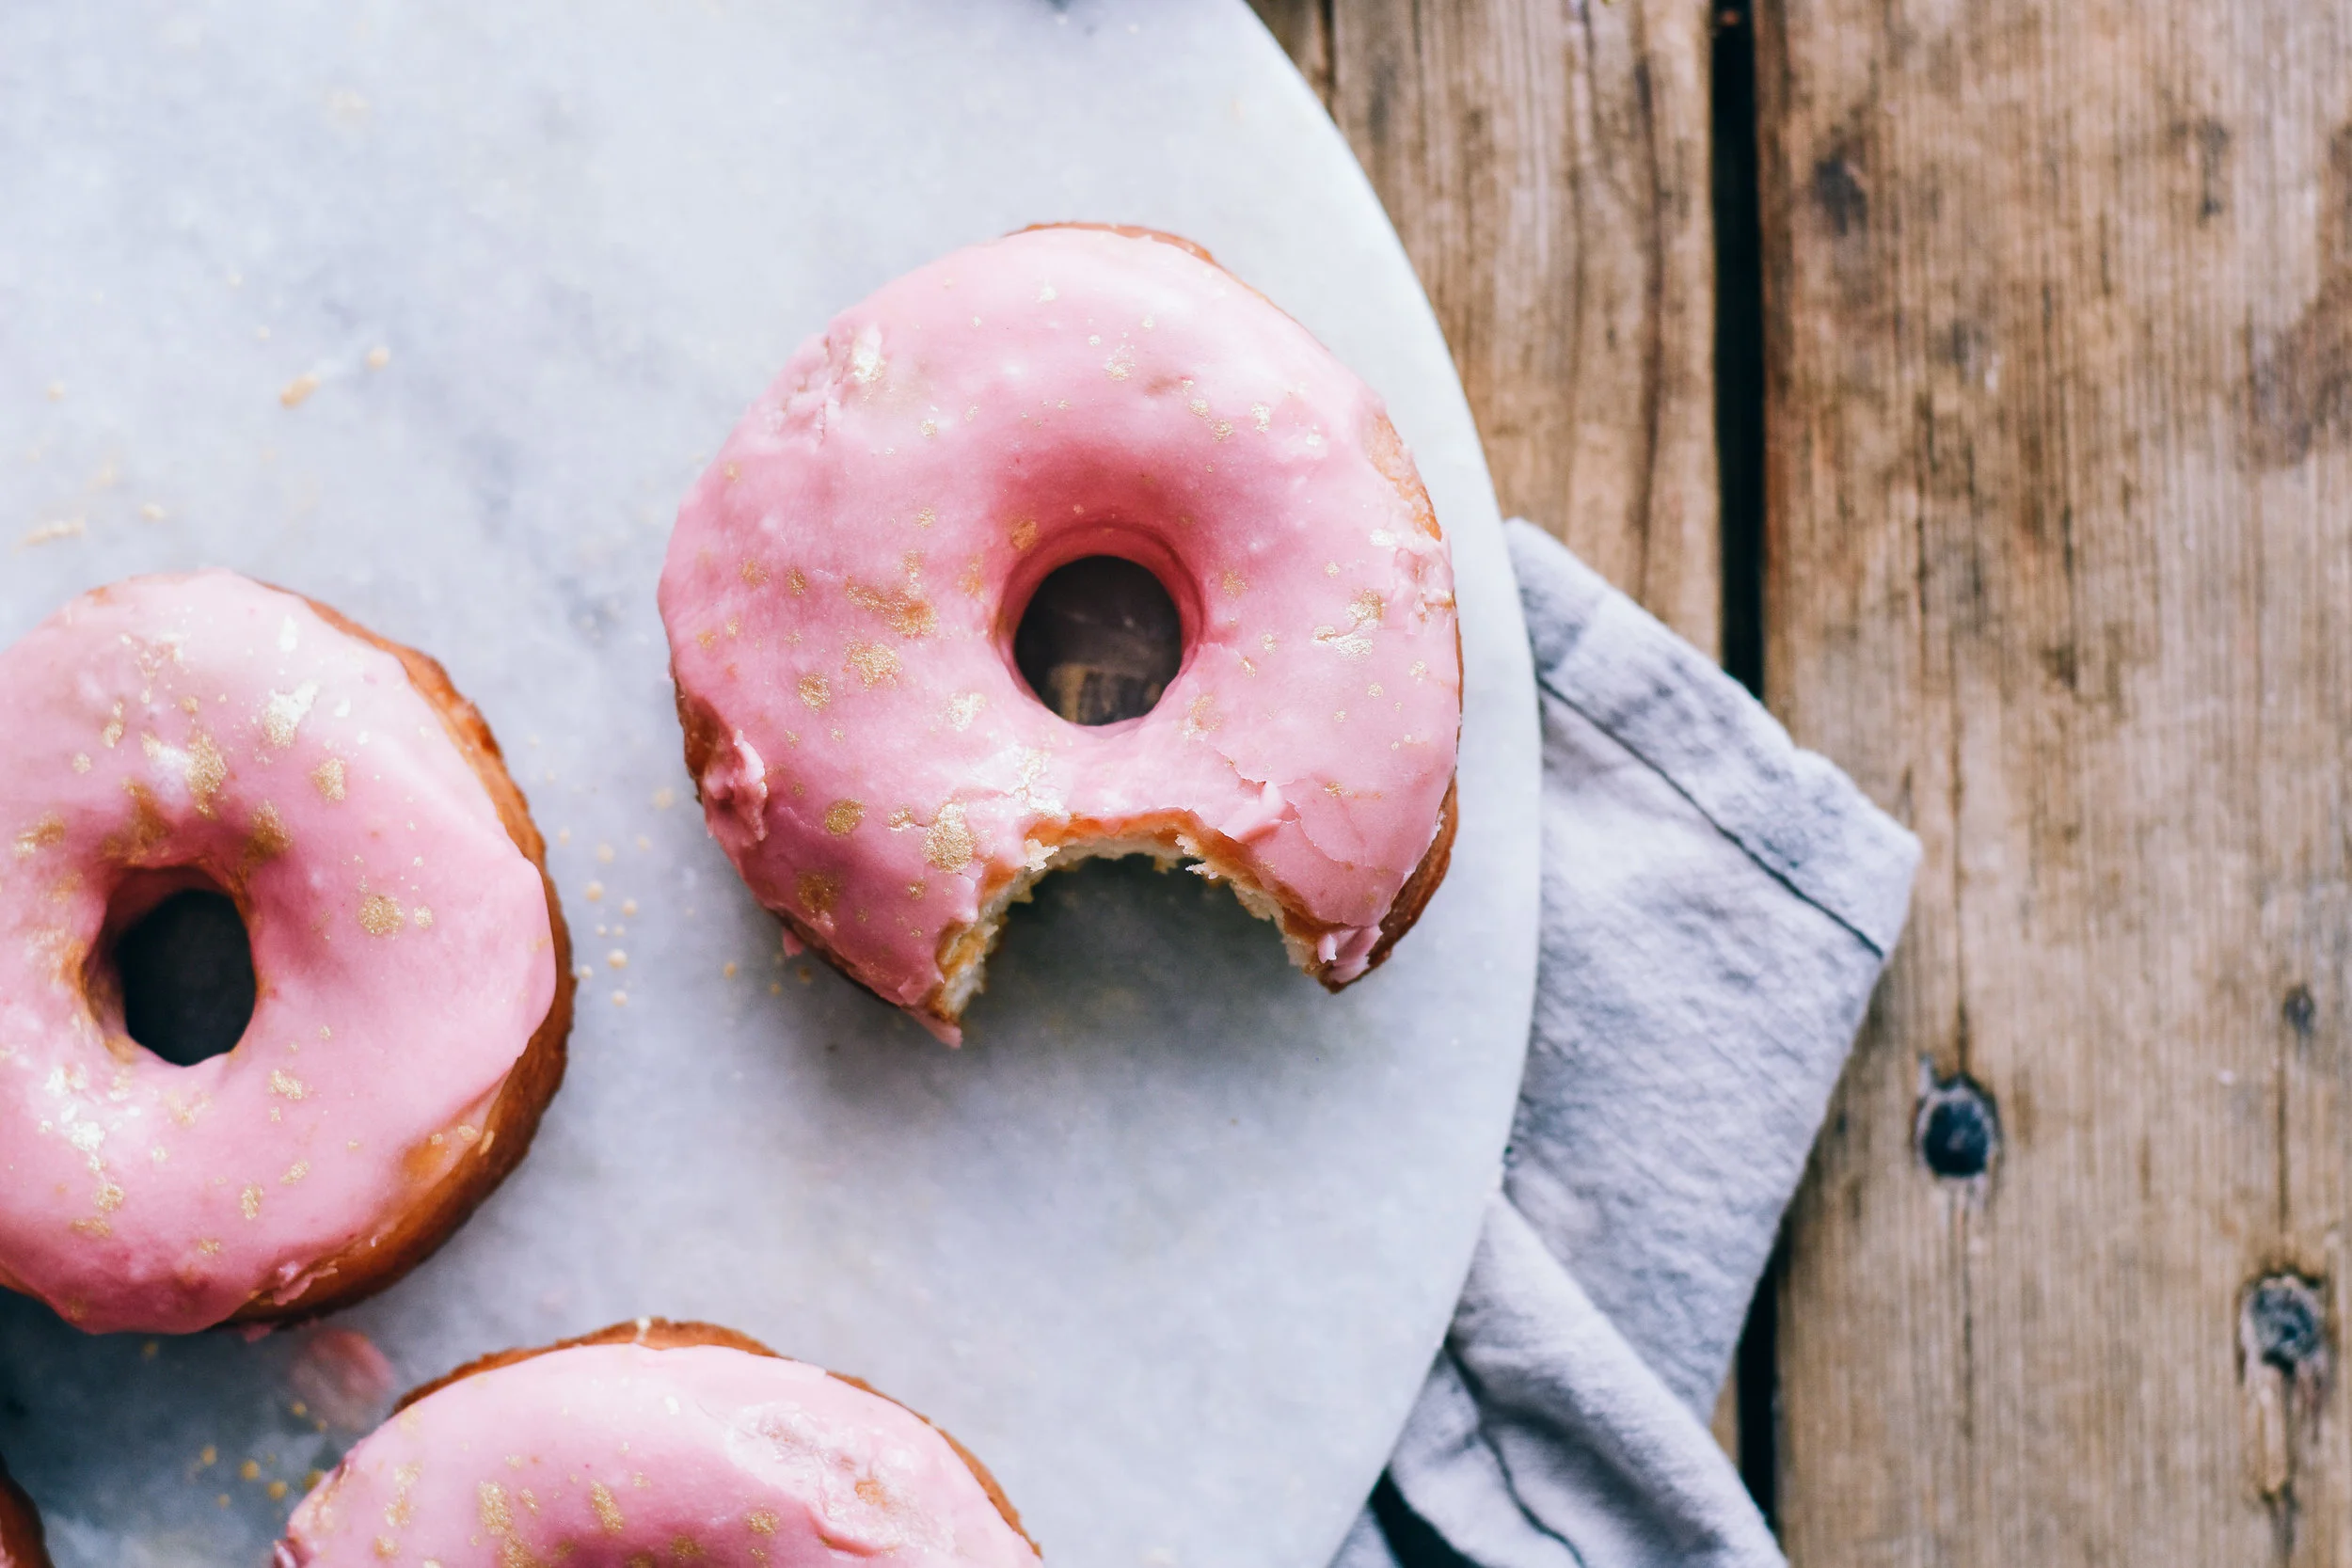
This doughnut recipe is seriously so simple, and the options for the toppings are endless! I chose a pink blood orange glaze with a splatter of gold, but you could simply roll in powdered sugar or granulated sugar, glaze with a thin plain glaze, or choose the glaze type of your choice. I think a rich chocolate glaze would go so perfectly with the zesty orange flavour of the doughnuts too! And of course, you can swap out the blood orange with any citrus…yay!
One of my biggest recommendations when making doughnuts, is to use an electric skillet if you can! It makes your life SO MUCH EASIER, as it controls the temperature way better than having a pot on the stove. When you use the stovetop, often your temperature will just keep rising as you cook, or it will drop significantly when you start frying, and it can be hard to keep it level. Then if you start messing with the temperature controls, it takes a while for it to take effect, and you can end up overcorrecting. It’s totally doable, but will take a bit more effort, and you will definitely want to have a thermometer on hand to be measuring your oil temperature often!
Also, I can’t stress enough, that you never ever walk away from your oil!! Frying doughnuts is not difficult, but you are working with hot oil, and it can be dangerous of course. Make sure it’s far back from your counter’s edge, so that nobody will accidentally bump it. I always say to keep kids out of the room as well! And when you’re done frying, make sure to let it cool down completely before trying to handle it. I will pour my oil back into my empty oil container using a funnel, and I always strain it as I go to keep out any chunks of doughnuts that may be floating in the oil. I write the date that I fried the doughnuts on the lid of the container, so I can keep track of how many times it’s been used. Store it in a cool, dark place (mine is stored at the bottom of my pantry.) Do keep in mind that the oil will take on the flavour of what you’ve fried in it, so if I’ve done doughnuts, then I keep it for more doughnuts, etc. There are lots of factors that will effect how many times you can reuse your oil….and I found this article to be helpful in determining this! Generally, if your oil starts looking dark, smells off at all, or is starting to smoke before reaching the proper temperature, it’s likely at the end of it’s life!
Anyway, let’s get to the good stuff….how to make these doughnuts!
blood orange doughnuts with a blood orange glaze
recipe: Kelsey Siemens
yields: about 18 doughnuts - dependent on size
ingredients
1/4 cup very warm water
1/2 tablespoon active dry yeast
1/2 teaspoon granulated sugar
2 tablespoons shortening
1/4 cup granulated sugar
1/2 teaspoon salt
1 cup milk (I prefer evaporated milk….but any milk will work here - dairy or not!)
1 large egg, beaten
1 tablespoon blood orange zest
3 1/2 - 4 cups all-purpose flour - add gradually, may not need all of it!
directions
In a small bowl, stir together the warm water (I use hot tap water!), yeast, and 1/2 teaspoon granulated sugar. Set aside for 5-10 minutes to get frothy. If it doesn’t rise, then the yeast may be bad, or the water may have been too cold/hot. Try again, adjusting the temperature, I aim for about 95-100 degrees F. If it still doesn’t work, you likely need new yeast!
Never continue with a bread recipe if your yeast doesn’t activate properly, as it will never turn out well!
In a large mixing bowl, mix together the shortening, 1/4 cup granulated sugar, and salt. I prefer to do this with a hand mixer, since it’s a pretty small amount of ingredients, and a stand mixer won’t mix them properly. Then you can move to a stand mixer if you’d like, and add in the milk, beaten egg, orange zest, and yeast mixture. Stir together on low. If your milk is quite cold, you may notice that the shortening stays in chunks, that’s just fine. Swap to a dough hook, and immediately add in 2 cups of flour, and mix on low until dough starts to combine. Slowly add in flour 1/2 cup at a time, or even more slowly. Once the dough starts to pull away from the sides of the bowl, stop adding flour. Continue mixing the dough on low for 5-10 minutes. If the dough starts to stick to the sides at all, then add in a tablespoon of flour. The goal is for it to be in a ball that doesn’t stick to the bowl, but we also want the dough to remain a bit sticky when you touch it with your finger! This may take a bit of practice to really get it just right. I always say that with bread you want it to stick to your fingers when you poke it, but it shouldn’t stick so much that it stays on your finger when you pull it away from the dough.
Once the dough has been kneaded for 5-10 minutes, place it into a clean, greased, large mixing bowl. And allow to rise for 20-25 minutes in a warm place, until it has almost doubled in size.
Meanwhile, cover 2 large baking sheets with parchment paper. Also, start preparing the oil - either in an electric skillet or in a deep, thick bottomed pan on the stove. The electric skillet is my preferred method, as it keeps the temperature much more constant, without you having to constantly fuss with it. If you use the stovetop method, be sure to check your temperature often, and try not to over-correct by messing with the temperature control too much! I will start heating the oil on a very low temperature at this point.
You will also want to have a metal cooling rack directly beside your oil, with parchment and/or paper towel beneath it to catch the oil.
Then, roll out the dough to about 1/2 inch to an inch thick, and use a doughnut cutter to cut the doughnuts. You could also use 2 different sizes of round cookie cutters as well! Or simply cut them into circles or squares if you’d like to make a filled doughnut. Transfer the doughnuts onto the prepared baking sheets, and this is when I will turn up the oil, and aim for a temperature between 330 and 350 degrees. The dough can rise for the 5 minutes or so that it will take for the oil to get to temperature, but if they rise too much at this point, they will become “too soft” and can be hard to handle!
If your oil is too cold, or too hot, they will either cook too quickly on the outside and not on the inside, take a very long time to cook, and absorb too much oil (yuck!). You’ll know you have the right temperature when your doughnuts drop to the bottom of the skillet for about 2 to 3 seconds when you first place them in the oil, and then they’ll rise and start sizzling lightly. Definitely do a practice one or two, and carefully cut them open to test their done-ness to make sure your temperature is correct.
Cook the doughnuts for 1 minute per side. They will be a golden brown colour when they’re done. If they get too dark, or not dark enough (and are raw in the middle), within this cooking time, adjust your temperature accordingly. Sometimes I will cook the first side for 30 seconds, flip, cook the otherside for 1 minute, flip, and cook the first side for another 30 seconds. You will soon get the hang of what the perfect colour looks like!
Repeat the process with all of the doughnuts.
I like to use a metal doughnut basket, (or metal slotted spoon) to scoop out the doughnuts, let them drain a bit, and then will transfer them to the prepared cooling rack. If you want to cover them in powdered sugar, or granulated sugar, do this while they are still hot so that the sugar sticks, but also let them cool for about a minute so you don’t burn your hands!
If you would like to glaze them completely with a plain glaze made with powdered sugar and milk, make the glaze ahead of time, and keep it quite thin. Pour over still warm doughnuts so it will run over them completely and soak in a bit.
For a thicker glaze, allow the doughnuts to cool completely. Make the glaze, dip, add sprinkles if desired, and allow glaze to set before serving.
*Doughnuts are truly their best on the day you make them, and don’t keep very well. Unglazed, unsugared doughnuts will keep best in an airtight container in the freezer. Doughnuts that have been covered in sugar will likely get a bit soggy by the next day and dissolve the sugar.
blood orange glaze
recipe: Kelsey Siemens
ingredients
3 tablespoons butter, melted
1 to 2 cups powdered sugar, sifted* - add gradually
2 tablepoons blood orange juice (from 1 blood orange)
directions
*First sift the powdered sugar. I know I know, it’s kind of annoying, but you really don’t want any chunks in your glaze!
In a small bowl that’s wide enough for a doughnut to fit into it, whisk together all ingredients - starting with 1 cup of powdered sugar. You’ll want to work fairly quickly, as the butter will start to firm up the glaze as it stays at room temperature (and depending on how warm/cool your house is!). You want a consistency that is very thick, but still flows. Add more powdered sugar as needed.
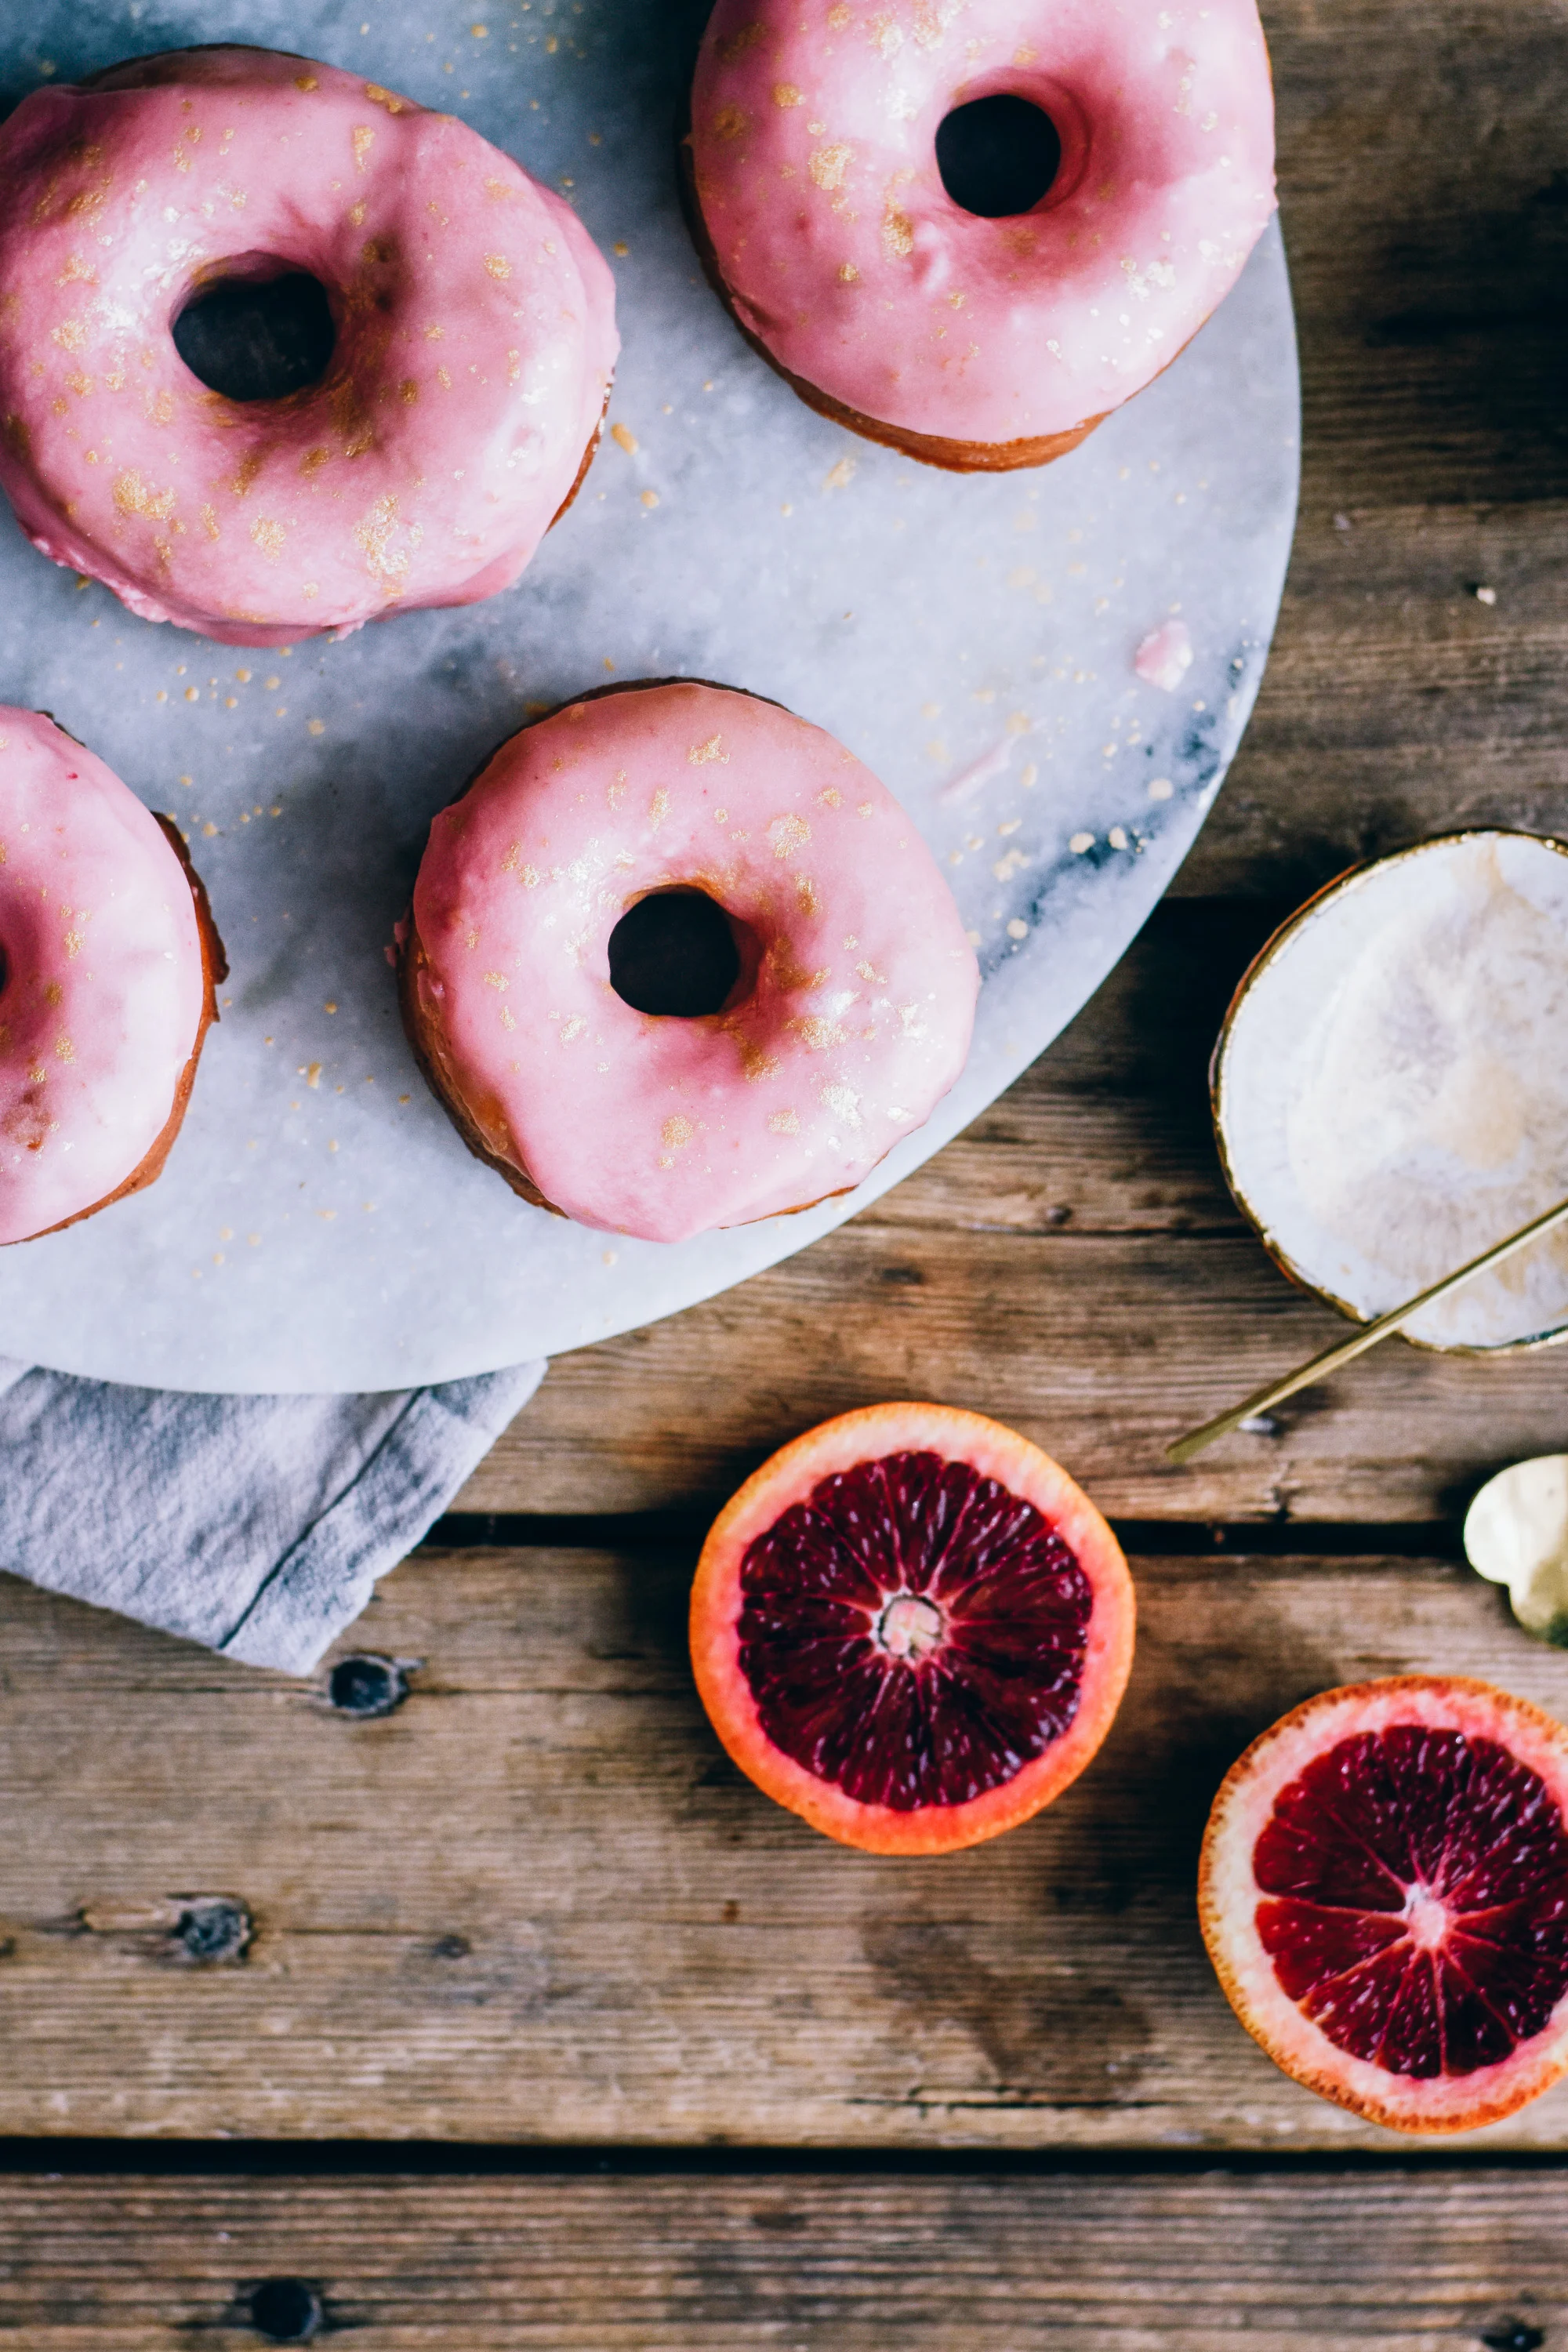
I will test a doughnut by dipping it smooth side (the “top” side") down about halfway into the glaze, gently pull up and shake excess glaze off. Turn doughnut upright, gently shake again, and any bumps or points in the glaze should smooth out….BUT, you don’t want the glaze to simply run off the doughnut either. Adjust the consistency if necessary.
Dip all the doughnuts as quick as you can. You can let the glaze set a bit, and dip again if your glaze was a bit thin during the first round.
GOLD FLECKS
ingredients
clear extract (can use vanilla, almond, etc)
gold luster powder (edible) - I usually find mine at Michaels craft store in the baking aisle
directions
In a very small bowl, mix together 1/8 teaspoon of the powder with a few drops of extract, mixing until a thick, smooth mixture forms. You really don’t need much liquid here! Use a new, clean paintbrush to “flick” the gold onto the glaze. Do this when the glaze has set, otherwise the gold may dissolve into the glaze.