
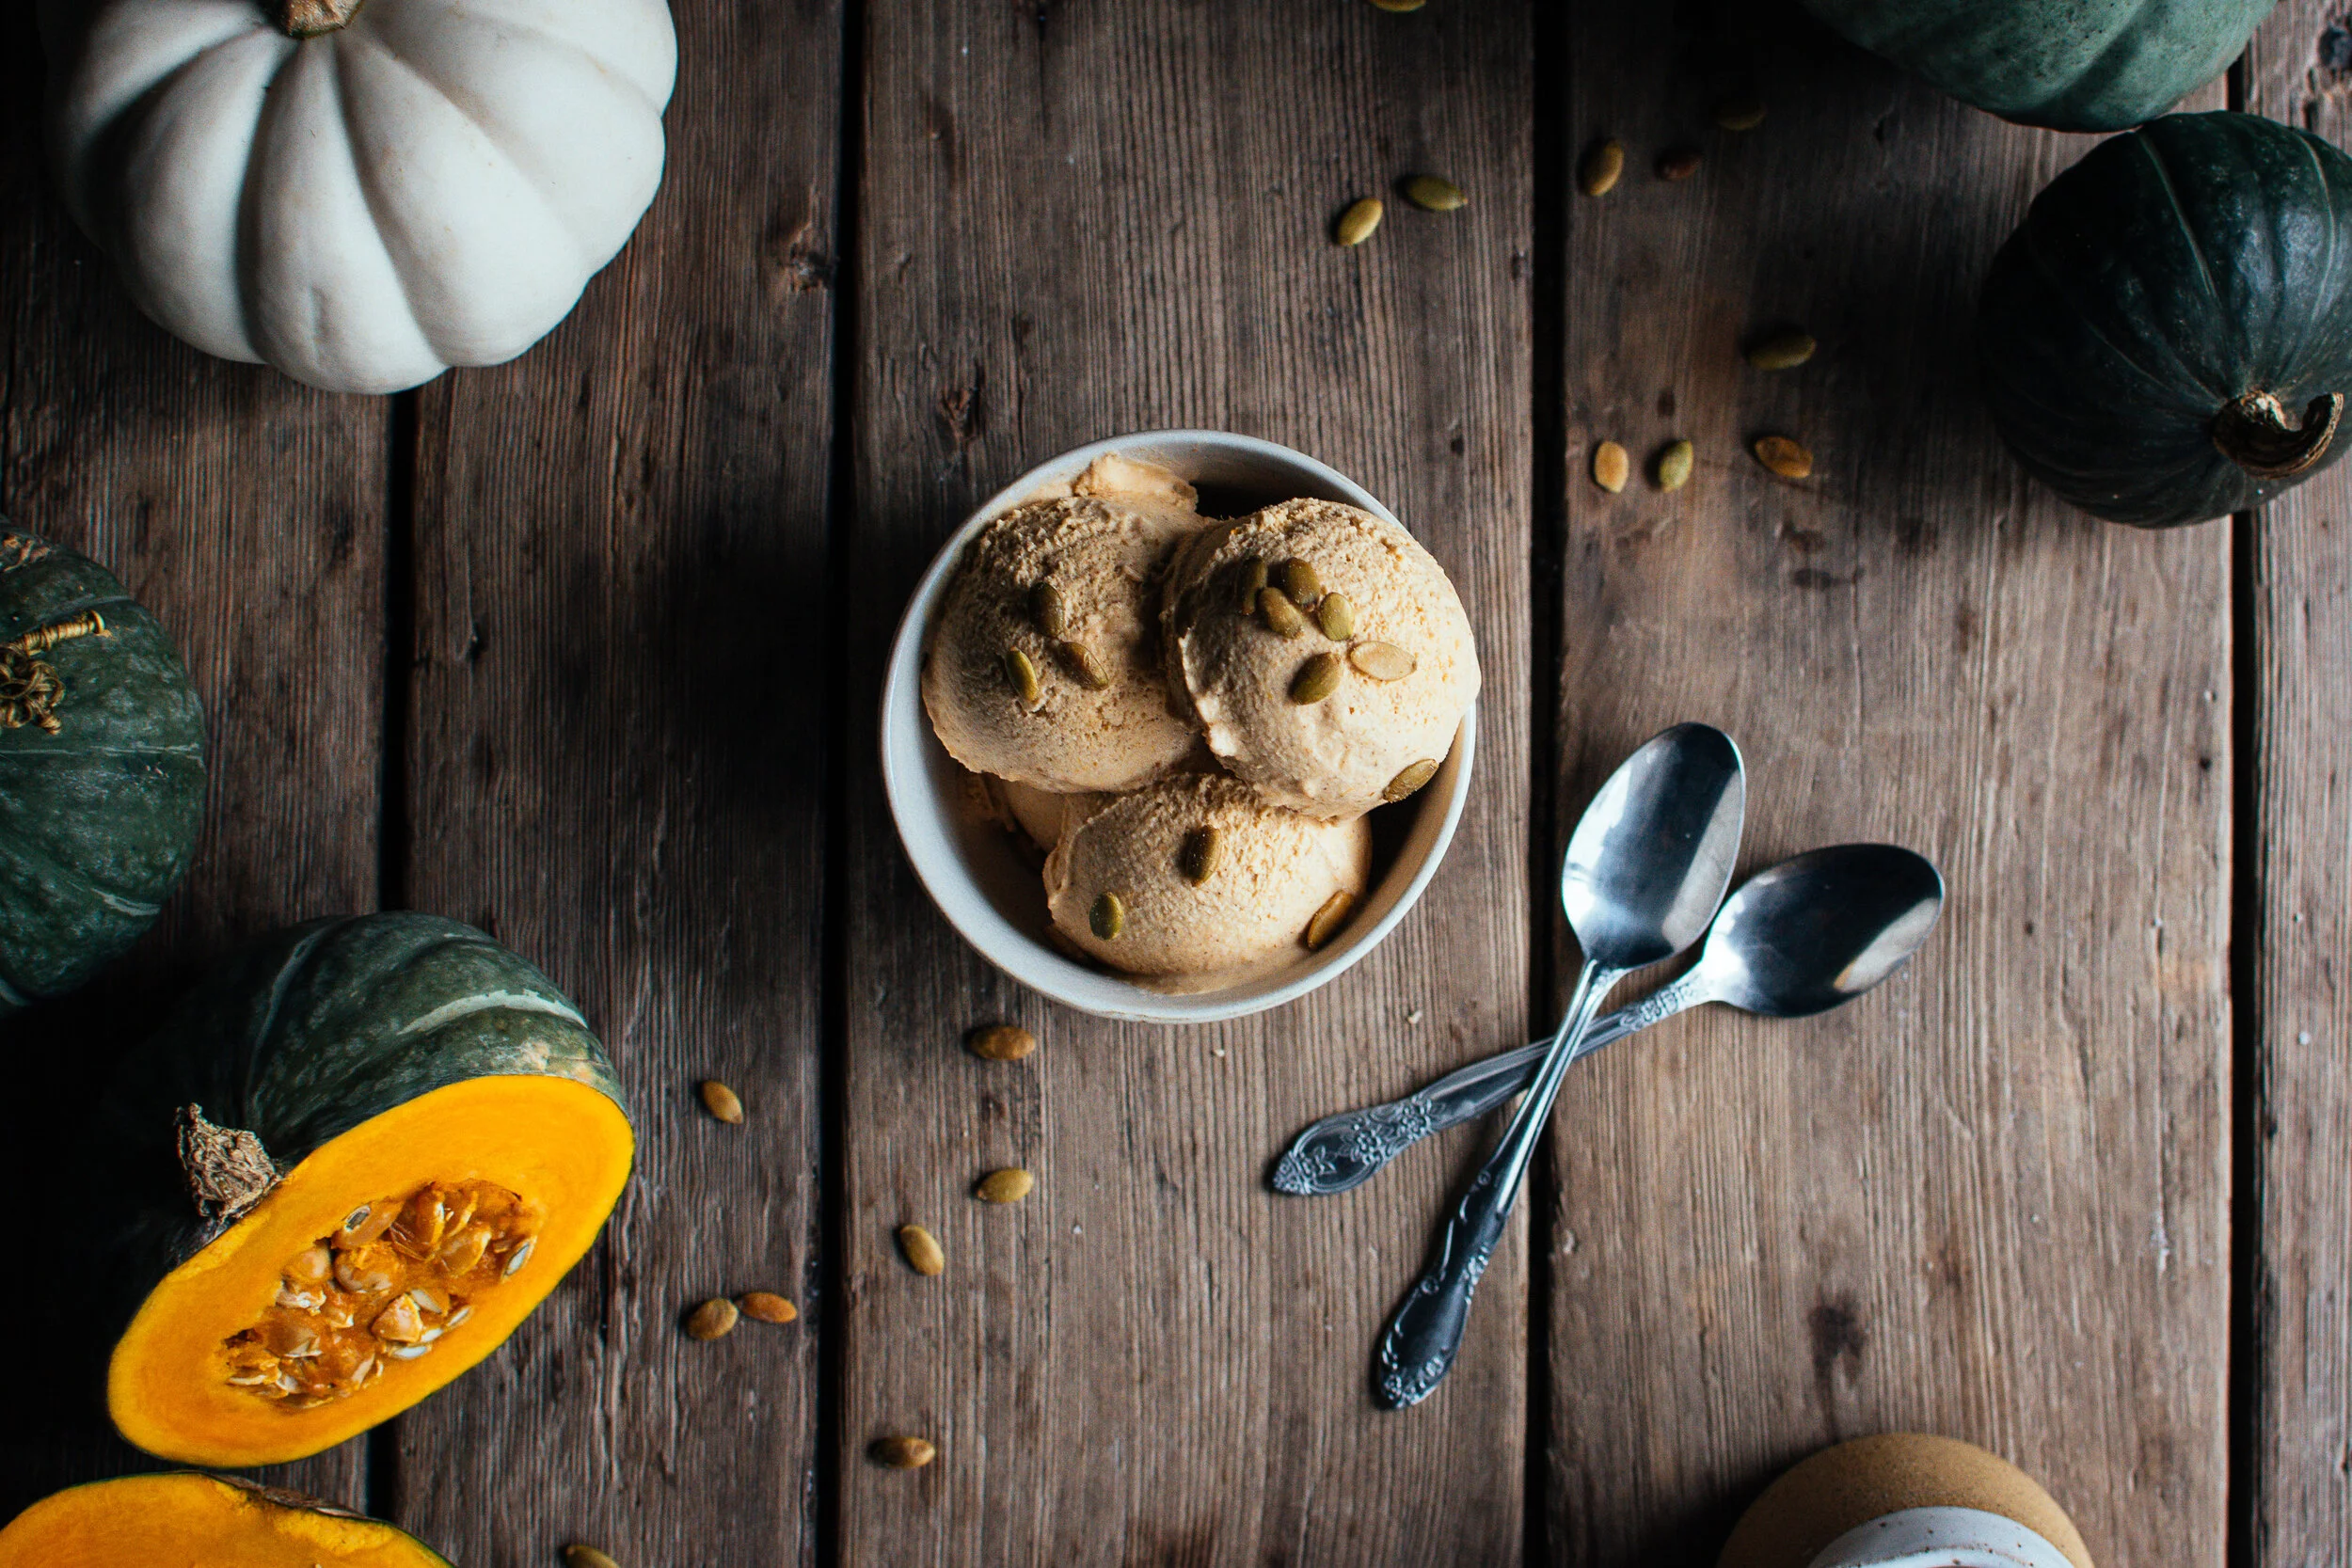
dairy free pumpkin spice ice cream (with coconut milk)


How is it already November? I have a love-hate relationship with Fall to be honest. It’s one of my favourite times of the entire year…and yet it’s one of the craziest, most stressful times on the farm. So many pumpkins to sell! And school tours to run. And on and on, etc. Yet, it is when the farm is at (perhaps) it’s most beautiful, with the leaves changing colour, the mist settling in at the base of the mountains behind it, and the last of the apple crop hanging on. Most of the craziness ends at the end of October though, and we start to clean up the farm and gear down in preparation for a restful Winter season.
Now, my bro-in-law has been on an elimination diet for most of the Fall, which has been a fun challenge for me to create some desserts that he can eat. Dairy and eggs are a big no no, but ice cream is one of his favourite treats! So of course I decided to try out coconut milk as an ice cream base, and loved the results.
The coconut milk provided the dreamiest base, while complementing, and not overpowering the pumpkin. I added in a few warm spices: cinnamon, nutmeg, ginger, and allspice - although these are easily tailored to your personal preference! When my sister first tried it, she told me it was like pumpkin pie in ice cream form….which it basically is! I’ve also been working on a dairy free, egg free pumpkin pie, and the ingredients are pretty much the same. Ha!
pumpkin ice cream (dairy free, egg free)
ingredients
1 (400mL) can of full fat coconut milk (I used Western Family or Grace Coconut Milk)
1/3 cup granulated sugar (*you could sub coconut sugar here to make it vegan - but it does carry a strong taste)
1/2 cup pumpkin puree
1/4 teaspoon cinnamon
pinch of: ginger, nutmeg, allspice - or to taste
directions
In a medium saucepan, stir together the coconut milk and sugar. Heat over medium heat, stirring constantly, until the sugar has dissolved and the mixture starts to steam - about 5 minutes.
Remove from heat, and whisk in the pumpkin puree and spices. Do a taste test and adjust spices if needed! Allow the mixture to cool to at least room temperature, or allow to chill in the fridge.
Pour cooled mixture into your ice cream maker, and let churn for 20-30 minutes until mixture is thick and pulling away from the sides of your machine (or follow the directions for your ice cream maker).
Serve immediately as soft serve, or place in an airtight container and allow to firm up in the freezer.
For best results: eat the same day within a few hours for the creamiest texture, or within a week.
It keeps longer of course, but the longer you keep it, the harder it will get in your freezer, and you may need to let it sit on the counter for 10-15 minutes in order to be able to scoop it.
Please note: the brand of coconut milk you use will have an impact on the consistency of the ice cream, and I can only vouch for the brands I have tried. (I’m also Canadian, and we likely have different brands compared to the USA). When researching coconut milk based ice cream, I saw a lot of comments about people having problems with it separating, and not firming up in their ice cream machine. Overall the consensus seemed to be that the new Trader Joe’s coconut milk does not work. We don’t have that up here, so I wasn’t able to experiment with it!
Brands that worked for me: Western Family Premium Coconut Milk, Grace Coconut Milk, (I always use full-fat coconut milk for ice cream). - I’ll update this list as I test more!
Happy ice cream making!
-Kelsey